
Create LinkInBio & LinkTree Pages On Your Website FREE
Do you want to get in on the LinkInBio craze with your social media pages? Maybe you have just heard about these services and would like to know more? Well good news, your in the right place! I’m going to give you step by step, how-to, instructions on what you need to start your own link page for free.
First, What Do I Mean By Free?
I mean that you won’t have to pay a subscription fee to LinkInBio or LinkTree to use the same services on your very own website. If you don’t already have a website you may want to consider these subscription services or think about the benefits of starting your own website. So from here on I’m going to assume that you have your own website and you have access to editing and designing that site. I am a Squarespace Circle member and use the Squarespace platform for hosting and designing all my websites so these instructions are created around Squarespace. You should still be able to apply the same principles on other web design platforms like Wix and Shopify.
What Is LinkInBio & LinkTree
Now that all of that is out of the way we can get started. For those of who are still wondering what LinkInBio or LinkTree are, these are services that provide a collection of links available under one URL link. Why is this beneficial? Combining a collection of links to multiple web addresses under one link is a game changer for social media platforms. This allows users to curate a collection of URL links as buttons or images that coincide with the content posted on your social media accounts like Instagram.
While this is a great idea, these services may provide a greater benefit to the platforms themselves than you, the user. What do I mean by this? First off, both services redirect your social media traffic. When one of your followers goes to your page and clicks the link in your bio they are then redirected to the services web address increasing the web traffic on their domain. While they provide you with a custom URL (subdomain) on their domain to house your collection of links. So the viewer must first visit LinkInBio or LinkTree to access your links.
Whats The Big Deal?
This might not seem like much of an issue, but to use LinkInBio or LinkTree you have to subscribe to their service. So you are essentially paying them to increase their own web traffic via your social media following and advertise their service. Yes, they are providing a service that is beneficial, especially to influencers and businesses, but they might just be benefiting a bit more from you.
What Other Options Are There?
If you have your own website, you are in luck. You can create your own page similar to a LinkInBio or LinkTree page on your website to house your link collection and drive your own web traffic with your followers.
Don’t want your link page listed on your website?
Squarespace provides the ability to have unlinked pages that won’t show up in your websites navigation menu.
Don’t Have A Website?
SLIEK Media offers the creation and maintenance of custom websites including Personal, Business, Commerce, and Advanced programs.
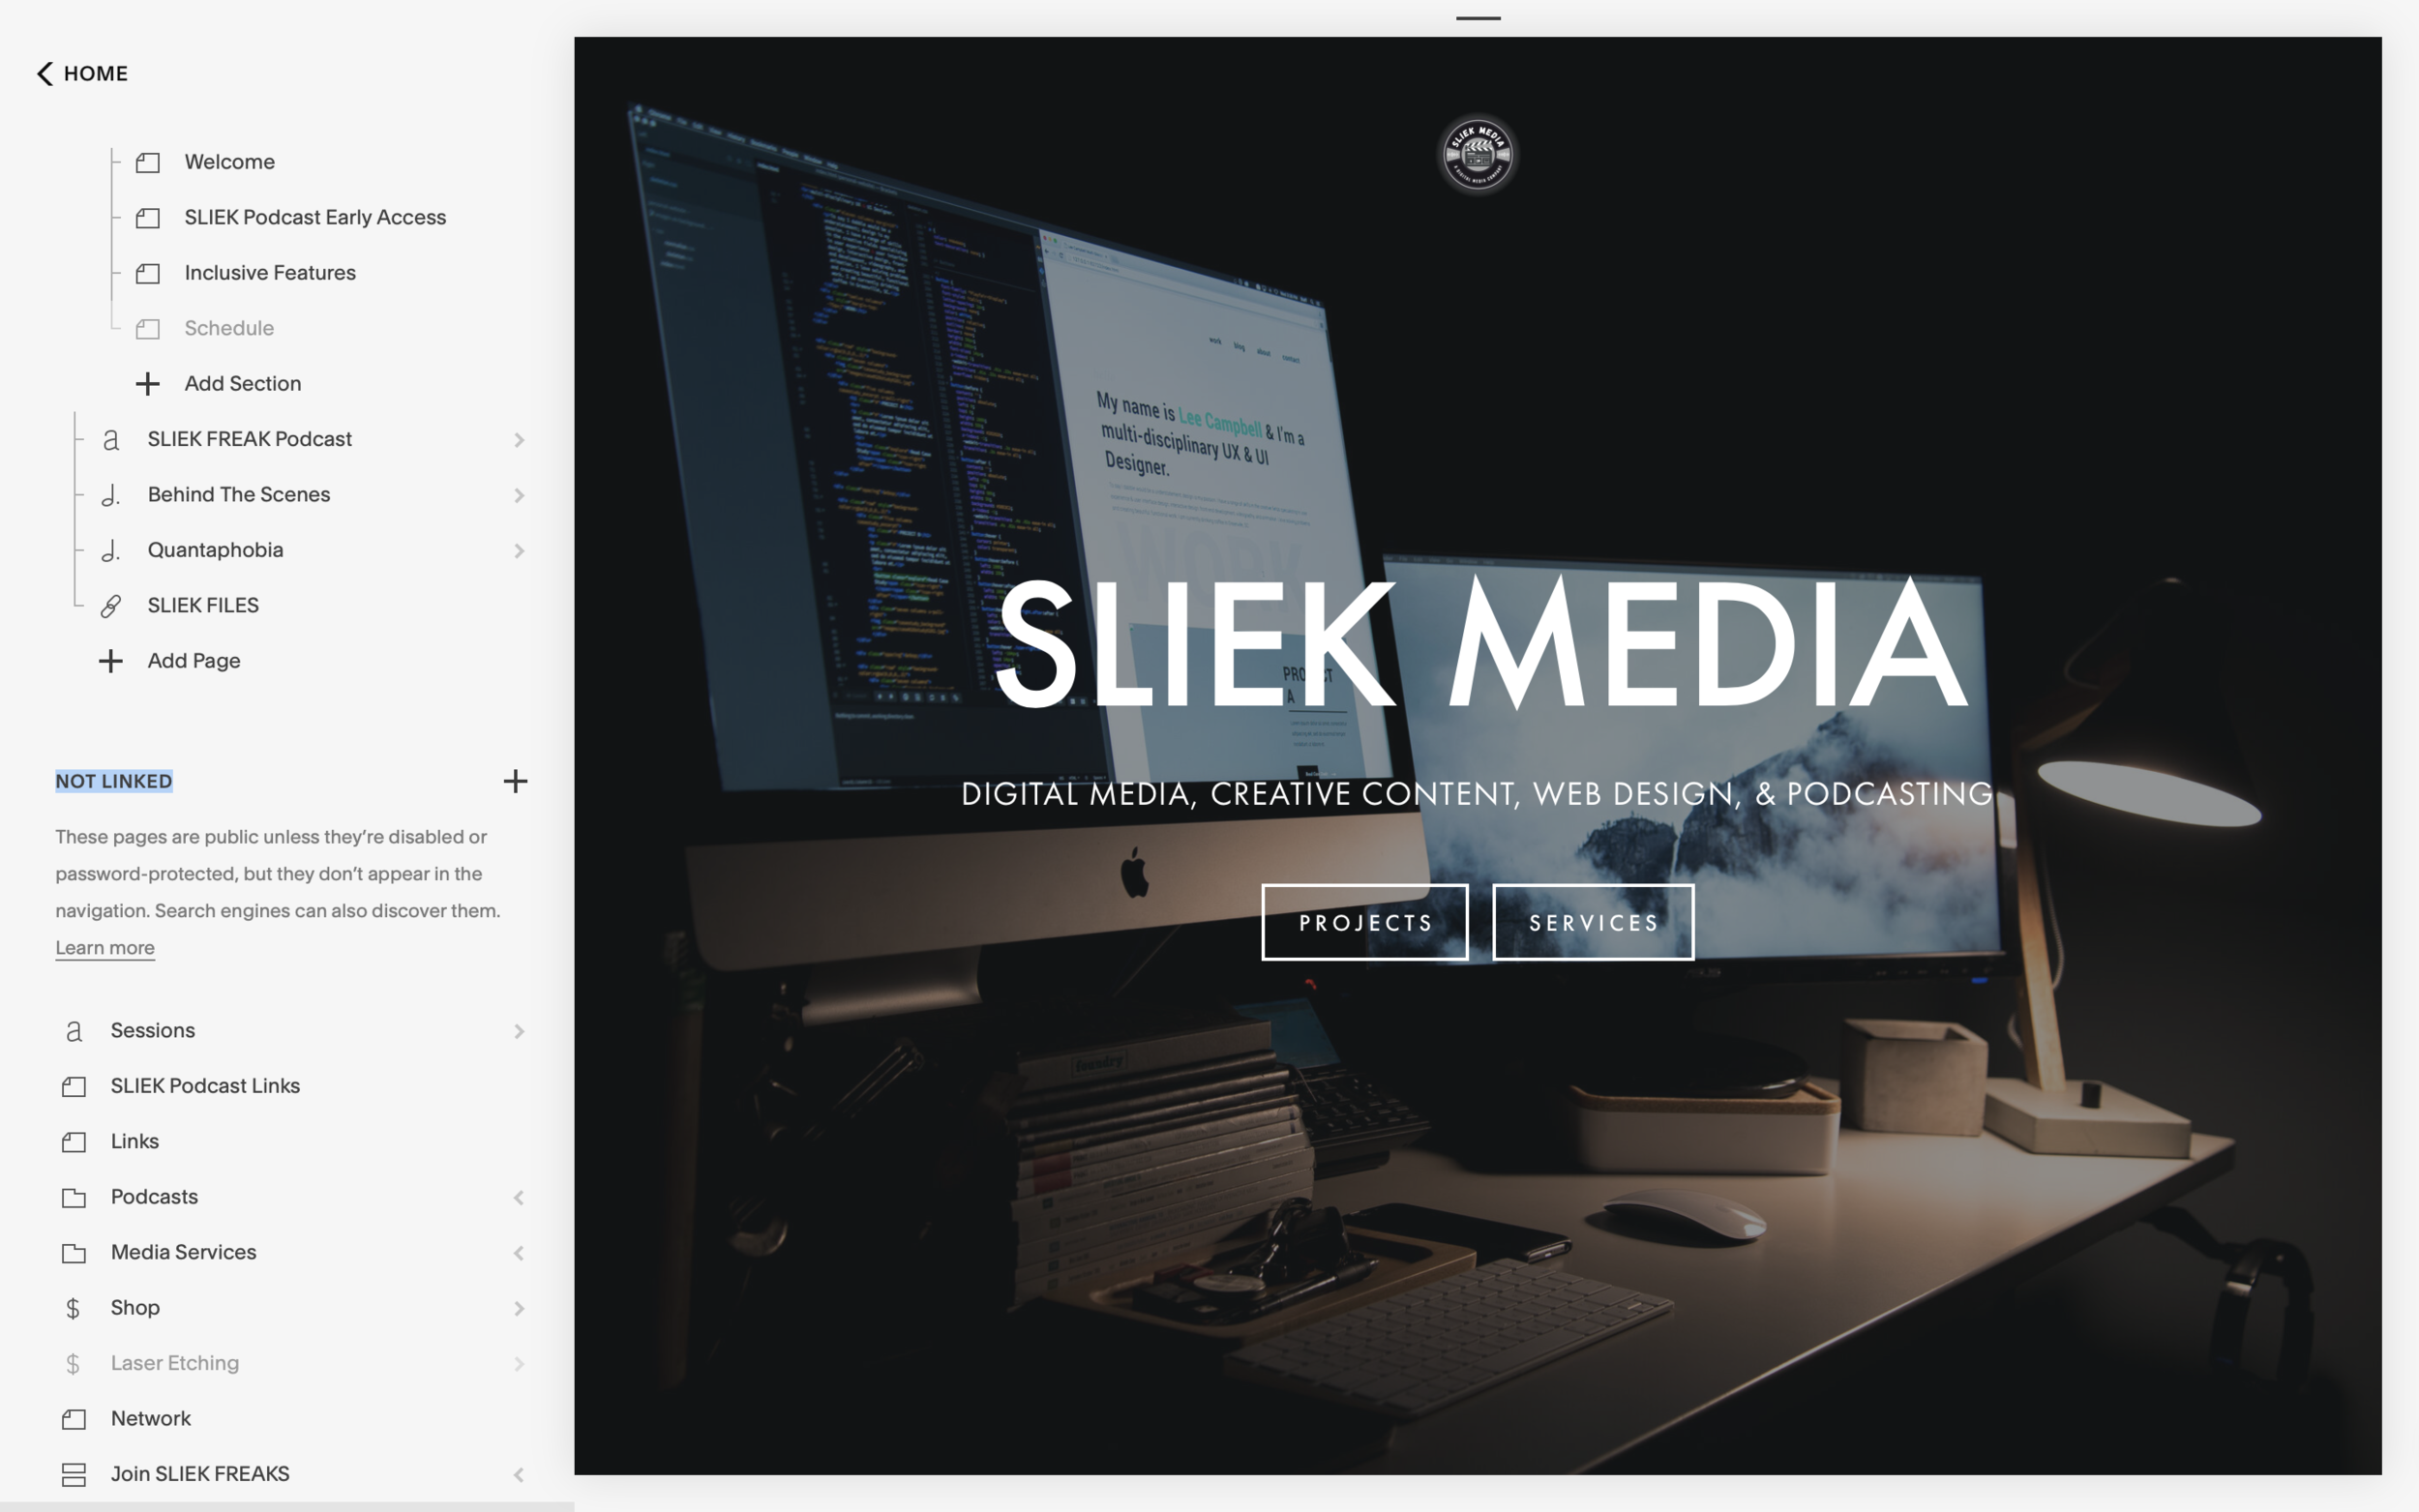
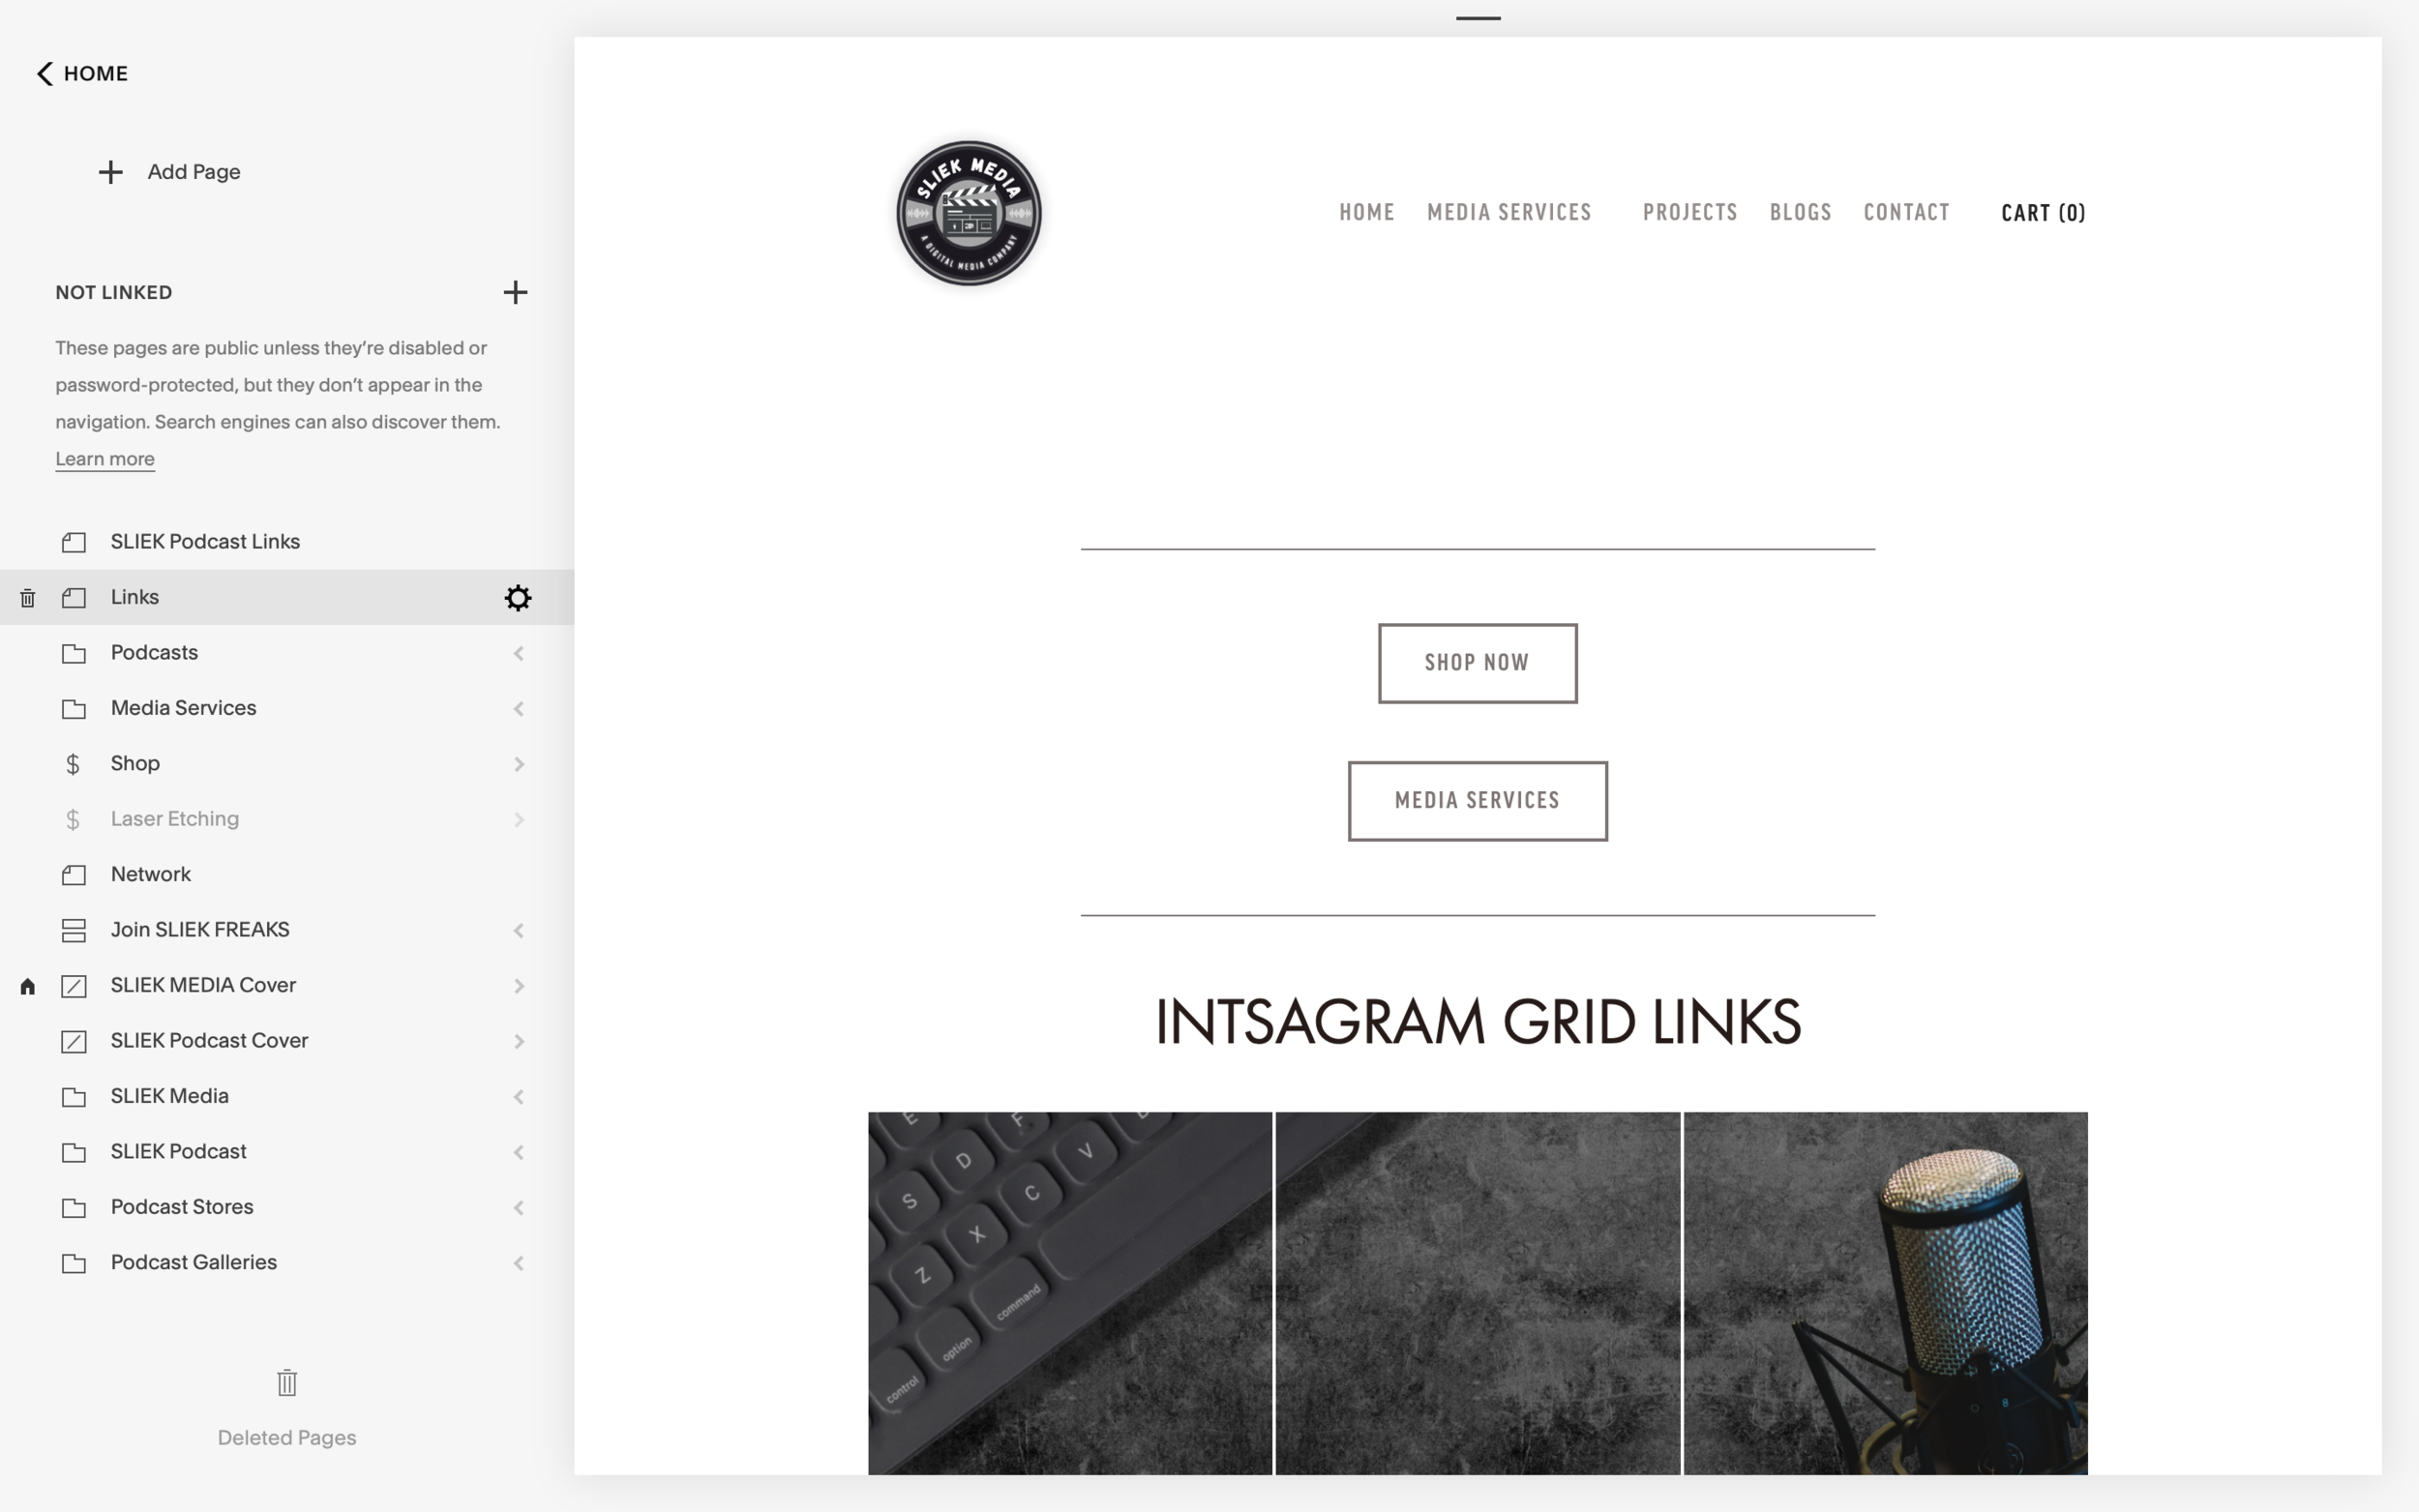
Create A New “Unlinked” Page On Your Website
In Squarespace you simply follow the sidebar under the pages navigation to the bottom where you will see and option to add an “Unlinked Page.” This is useful for designing and testing new pages for your website without adding it to your website’s navigation menu. This means that visitors on your website won’t be able to access the page through any listed menus. They would need the direct URL of the page.
LinkTree Button Page
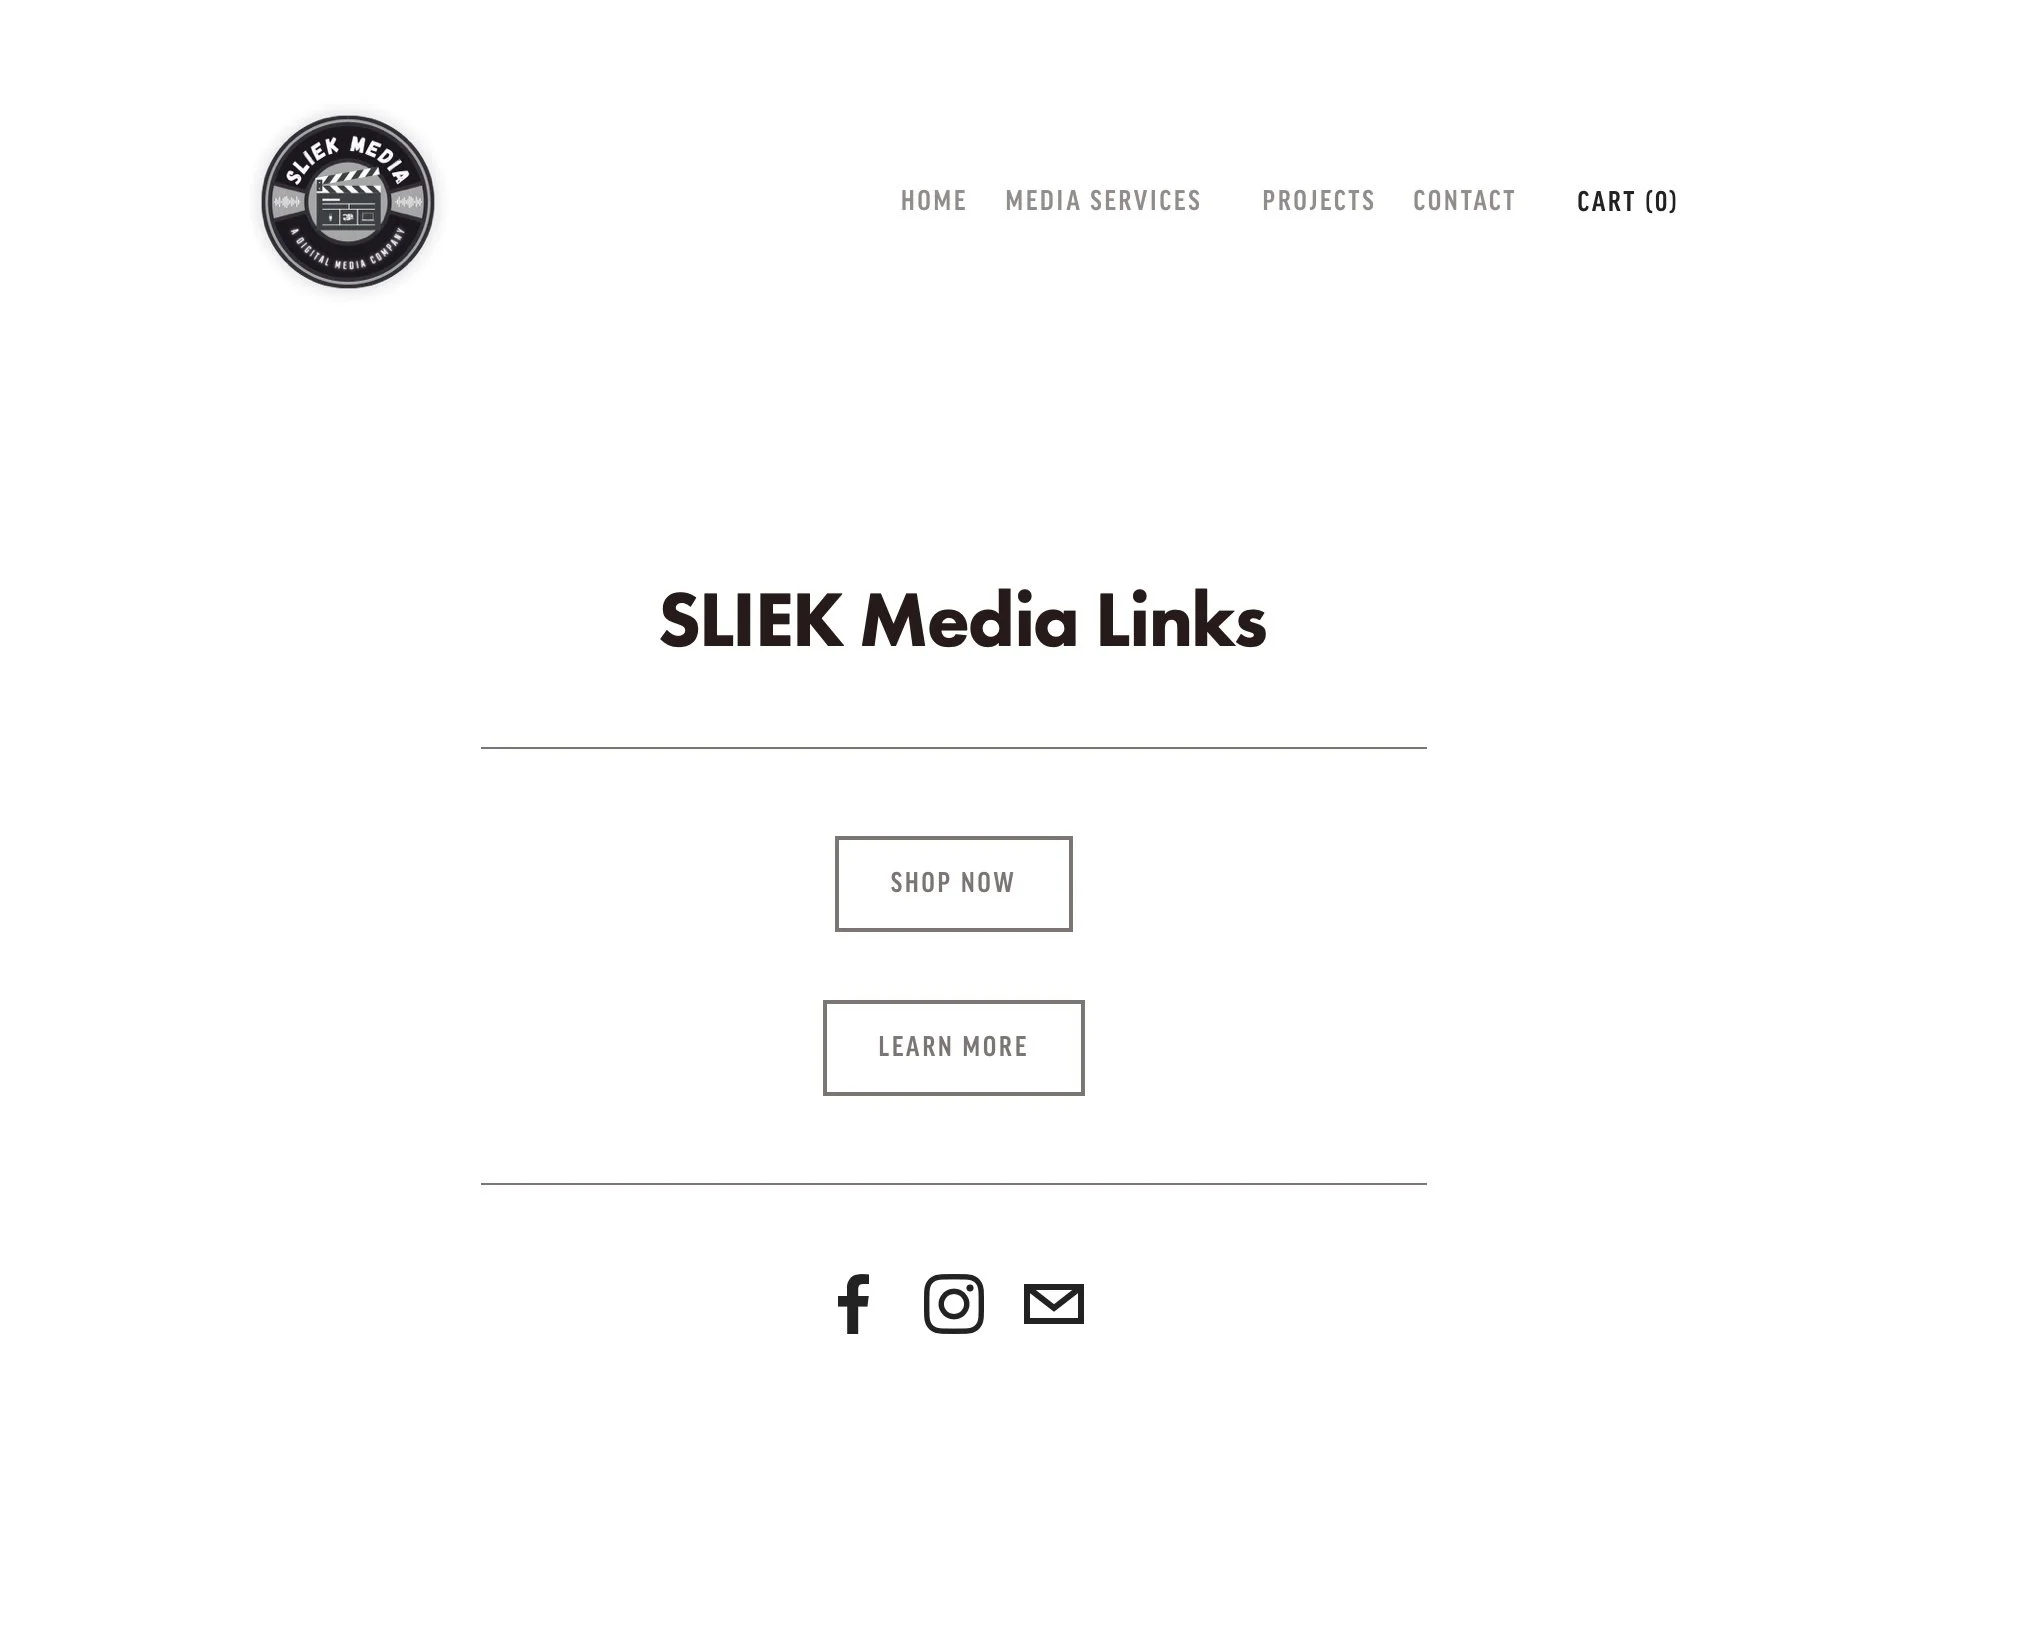
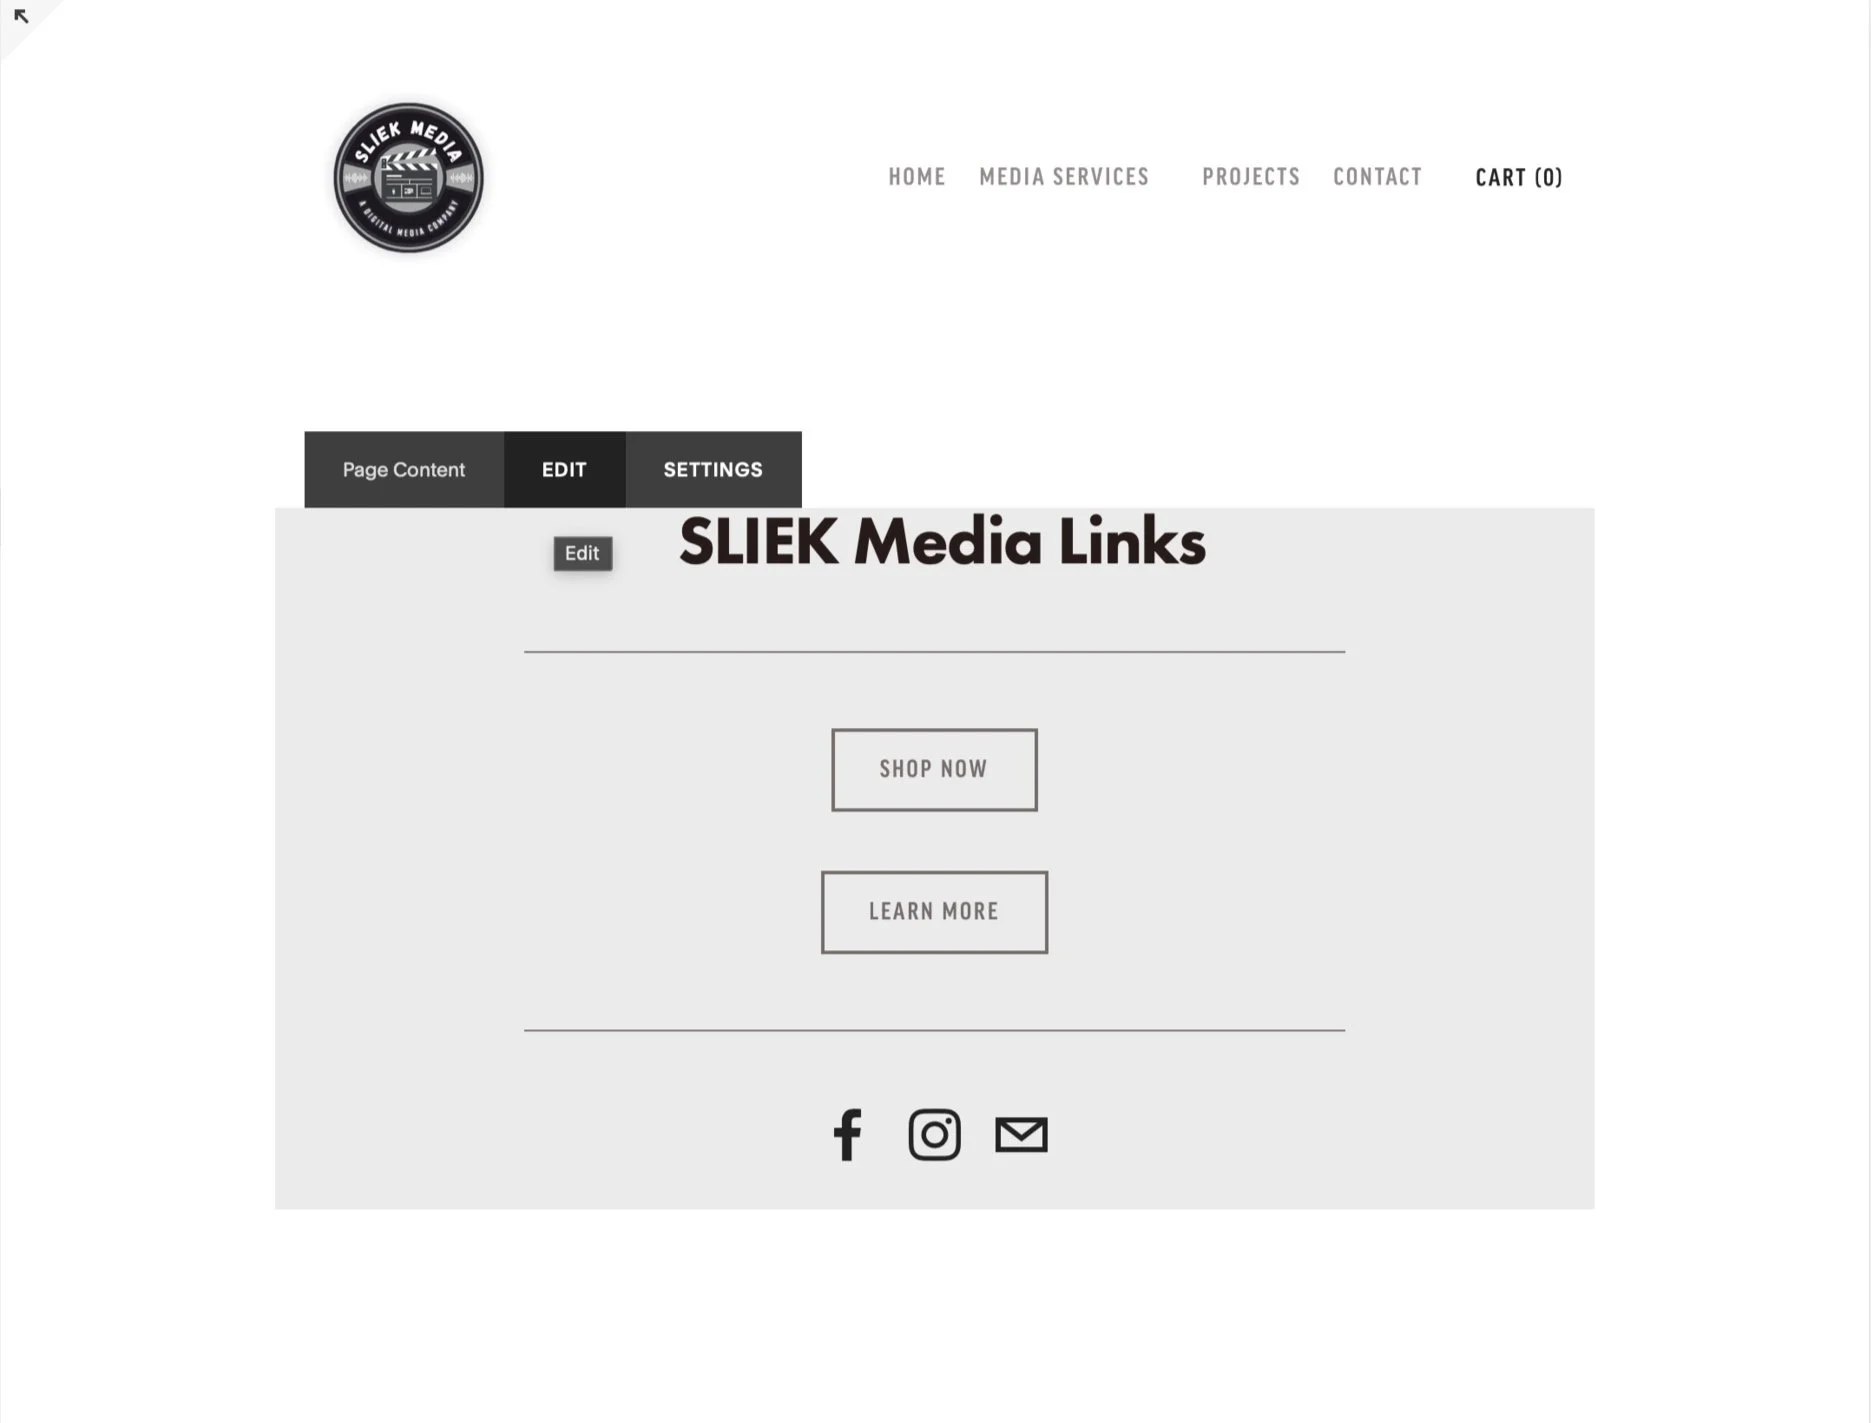
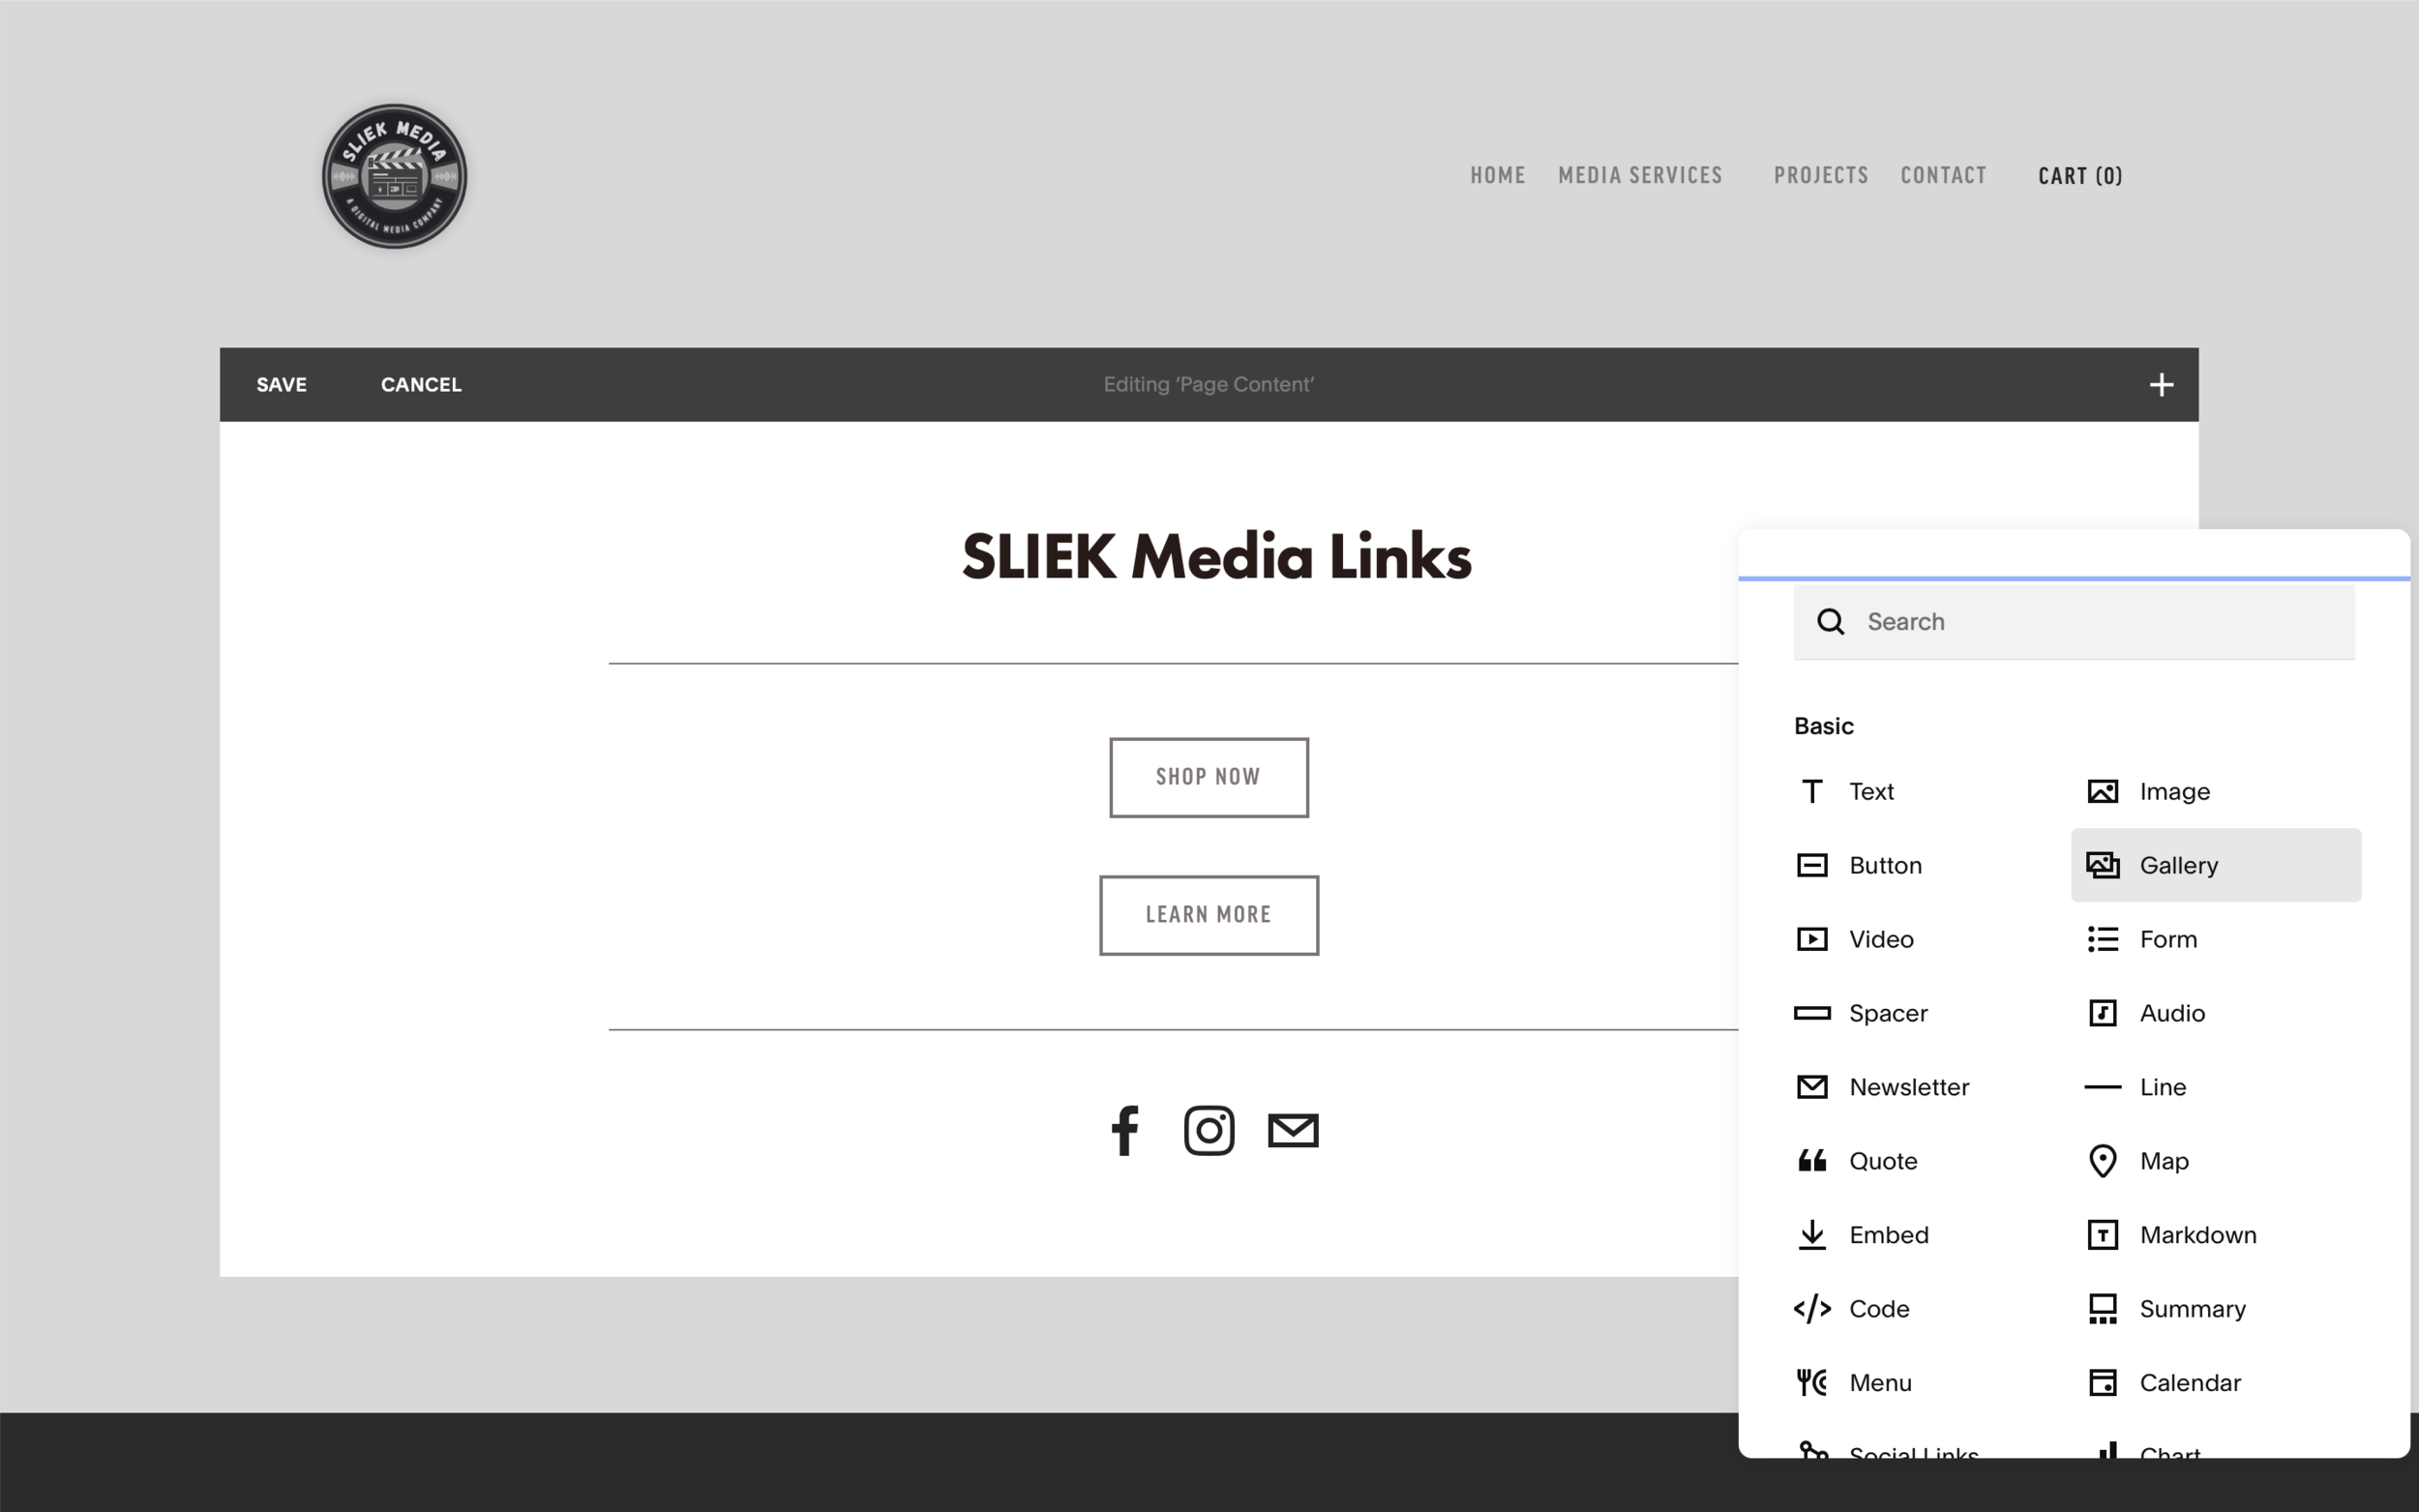
Okay, you have your new unlinked page, now what? If you want the standard LinkTree look, you will just need to add a title and some buttons to the page. This is done by clicking the edit page option and then clicking the text box. This is where you add your link page title. (example: SLIEK Media Links)
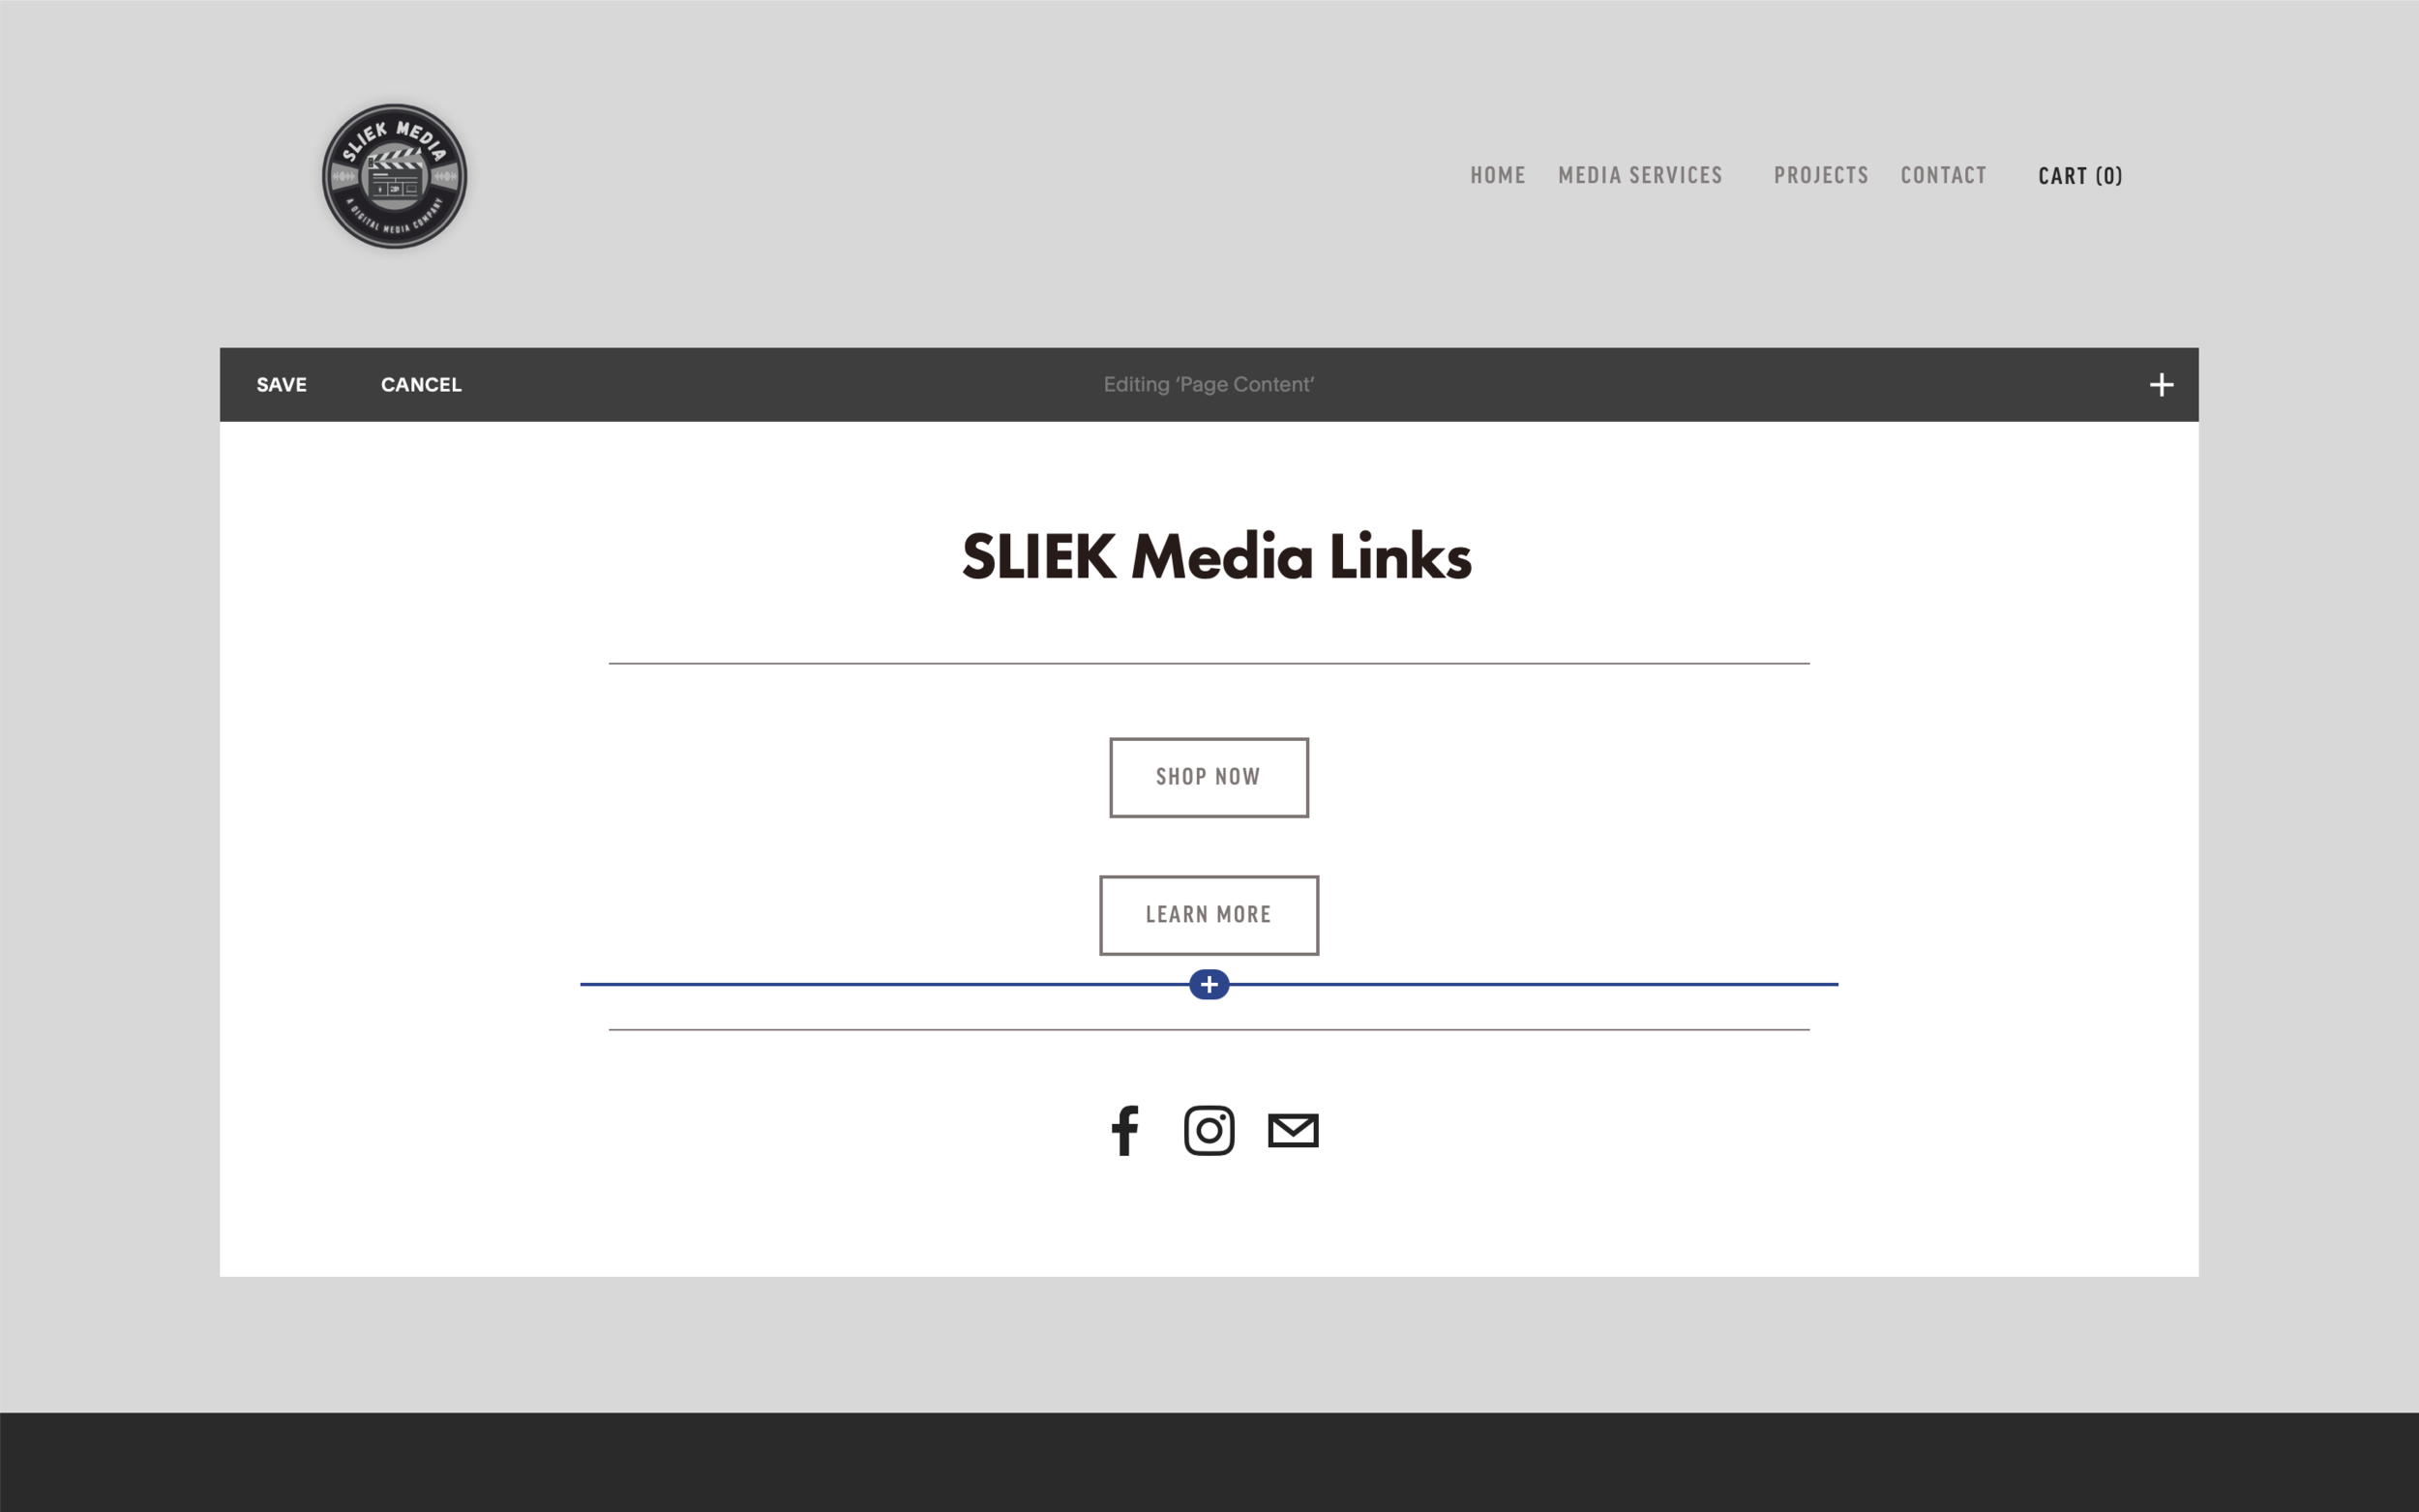
Now click the plus sign symbol below the text block to add a new content block. From there you will select the button block option. You will need to adjust the button text accordingly. (example: “Affiliated Company Name”) Now that you have the right name for your link you can add it’s url to the button. Click “Design” at the top of the button block pane to adjust the size and alignment of your button. I like to use the small size because most viewers will be coming from mobile devices. You should also make sure your button is aligned to the center of the page. Repeat this process for as many buttons as you need.
Congratulations you have now created your very own LinkTree page. I recommend changing the pages URL slug to “links” so it will be your domain.com/links to keep it simple and appealing. I will go over this and subdomain forwarding to create alternative URLs that redirect to your link page. (example: links.yourdomain.com)

LinkInBio Instagram Grid Page
LinkInBio takes things a step further than LinkTree. They give you the link buttons like LinkTree but add the ability to simulate your recent Instagram Grid Layout. This is the arrangement of content shown in the grid on your Instagram profile. Instagram doesn’t allow the ability to add URL links to your content or the caption. So if you want to use your content to generate web traffic you need to tell the viewer to click the link in your bio.
Seems like a simple solution right? Well if you are linking all your content to the same URL it is fine, but if you want different photos and videos to drive traffic to multiple pages on a website or separate websites, it’s an issue. That’s how LinkInBio was born. The concept is excellent, but the service might not be necessary for everyone. Especially if you have your own website!

Add An Image Gallery To Your LinkTree Button Page
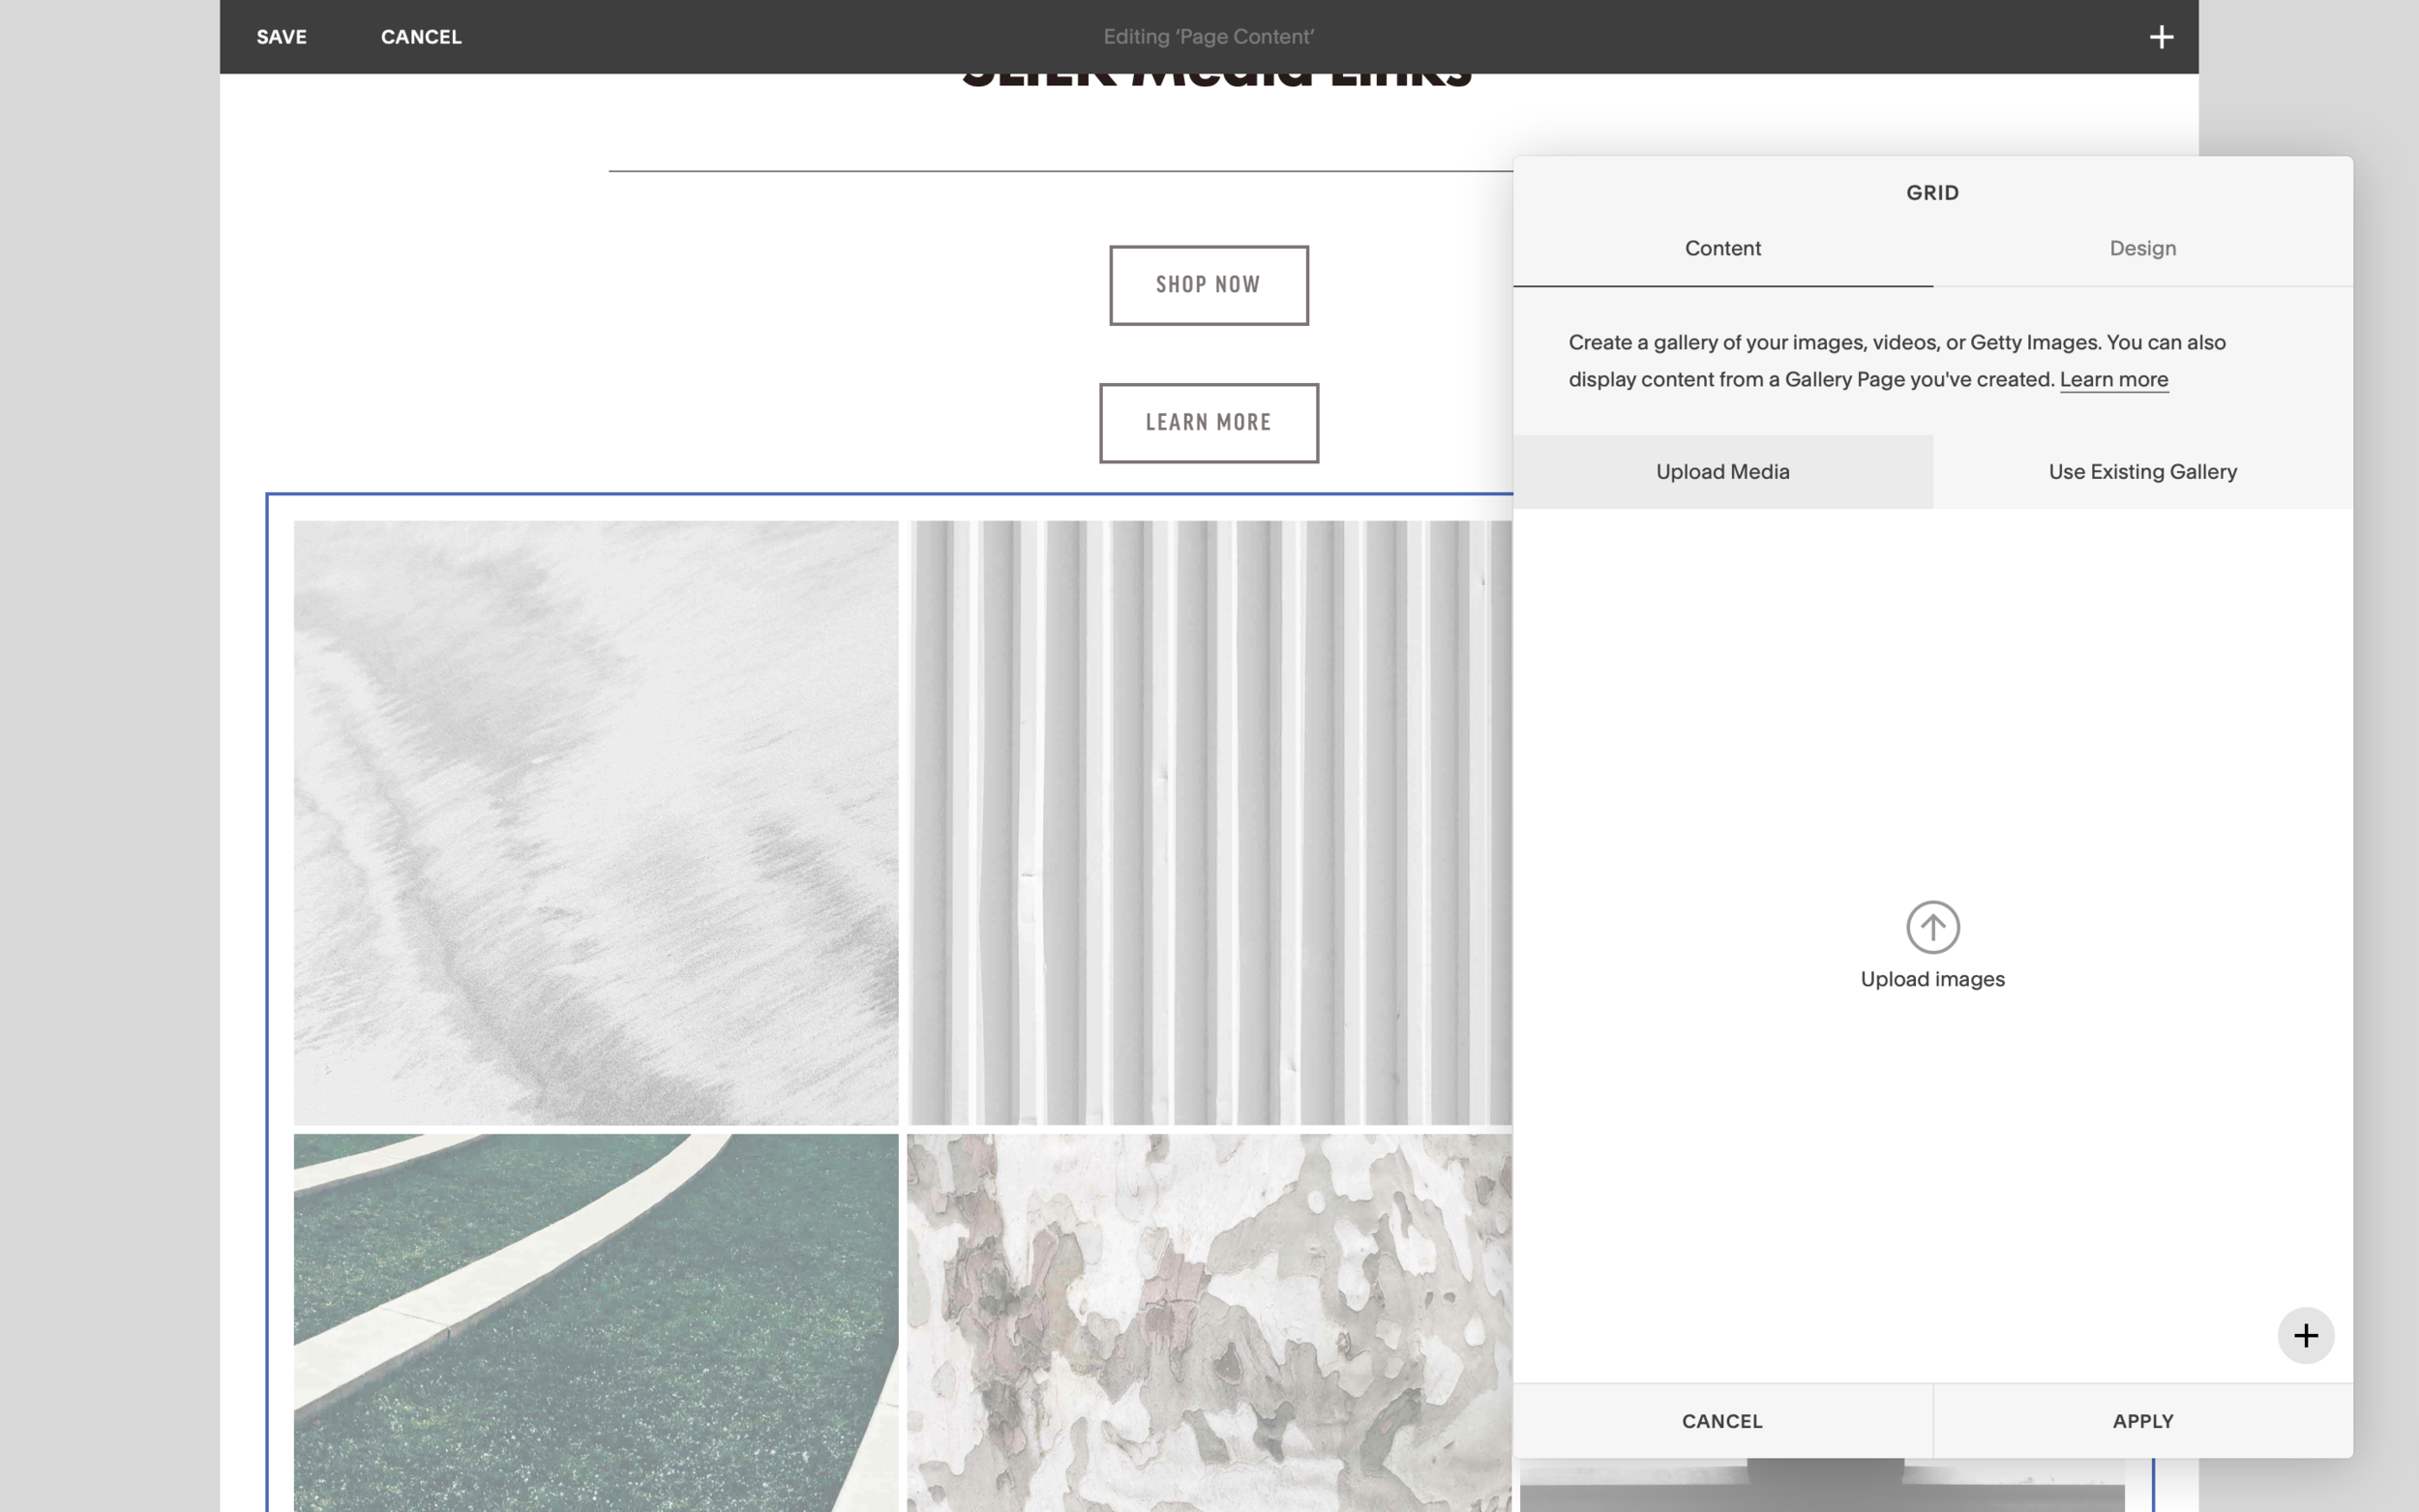
To create your own LinkInBio page you will need to follow the steps of the LinkTree Button Page and add a new gallery block under your last button block. Do this by clicking the plus sign under the button block. Now select the gallery block option. Click the design option at the top of the gallery pane. From here you will need to make a few adjustments.
Make sure you have the “Grid” option selected. This should be the default setup. Same thing with the “Aspect Ratio,” which should be “1:1 Square.”
Adjust the number of thumbnails per row to 3.
Adjust the padding between images to your liking. I tend to use anywhere from 0-5, but this is completely up to you and how you want your grid to flow.
Finally, click the “Open Links In New Window” option.

Add Instagram Content To Your Gallery
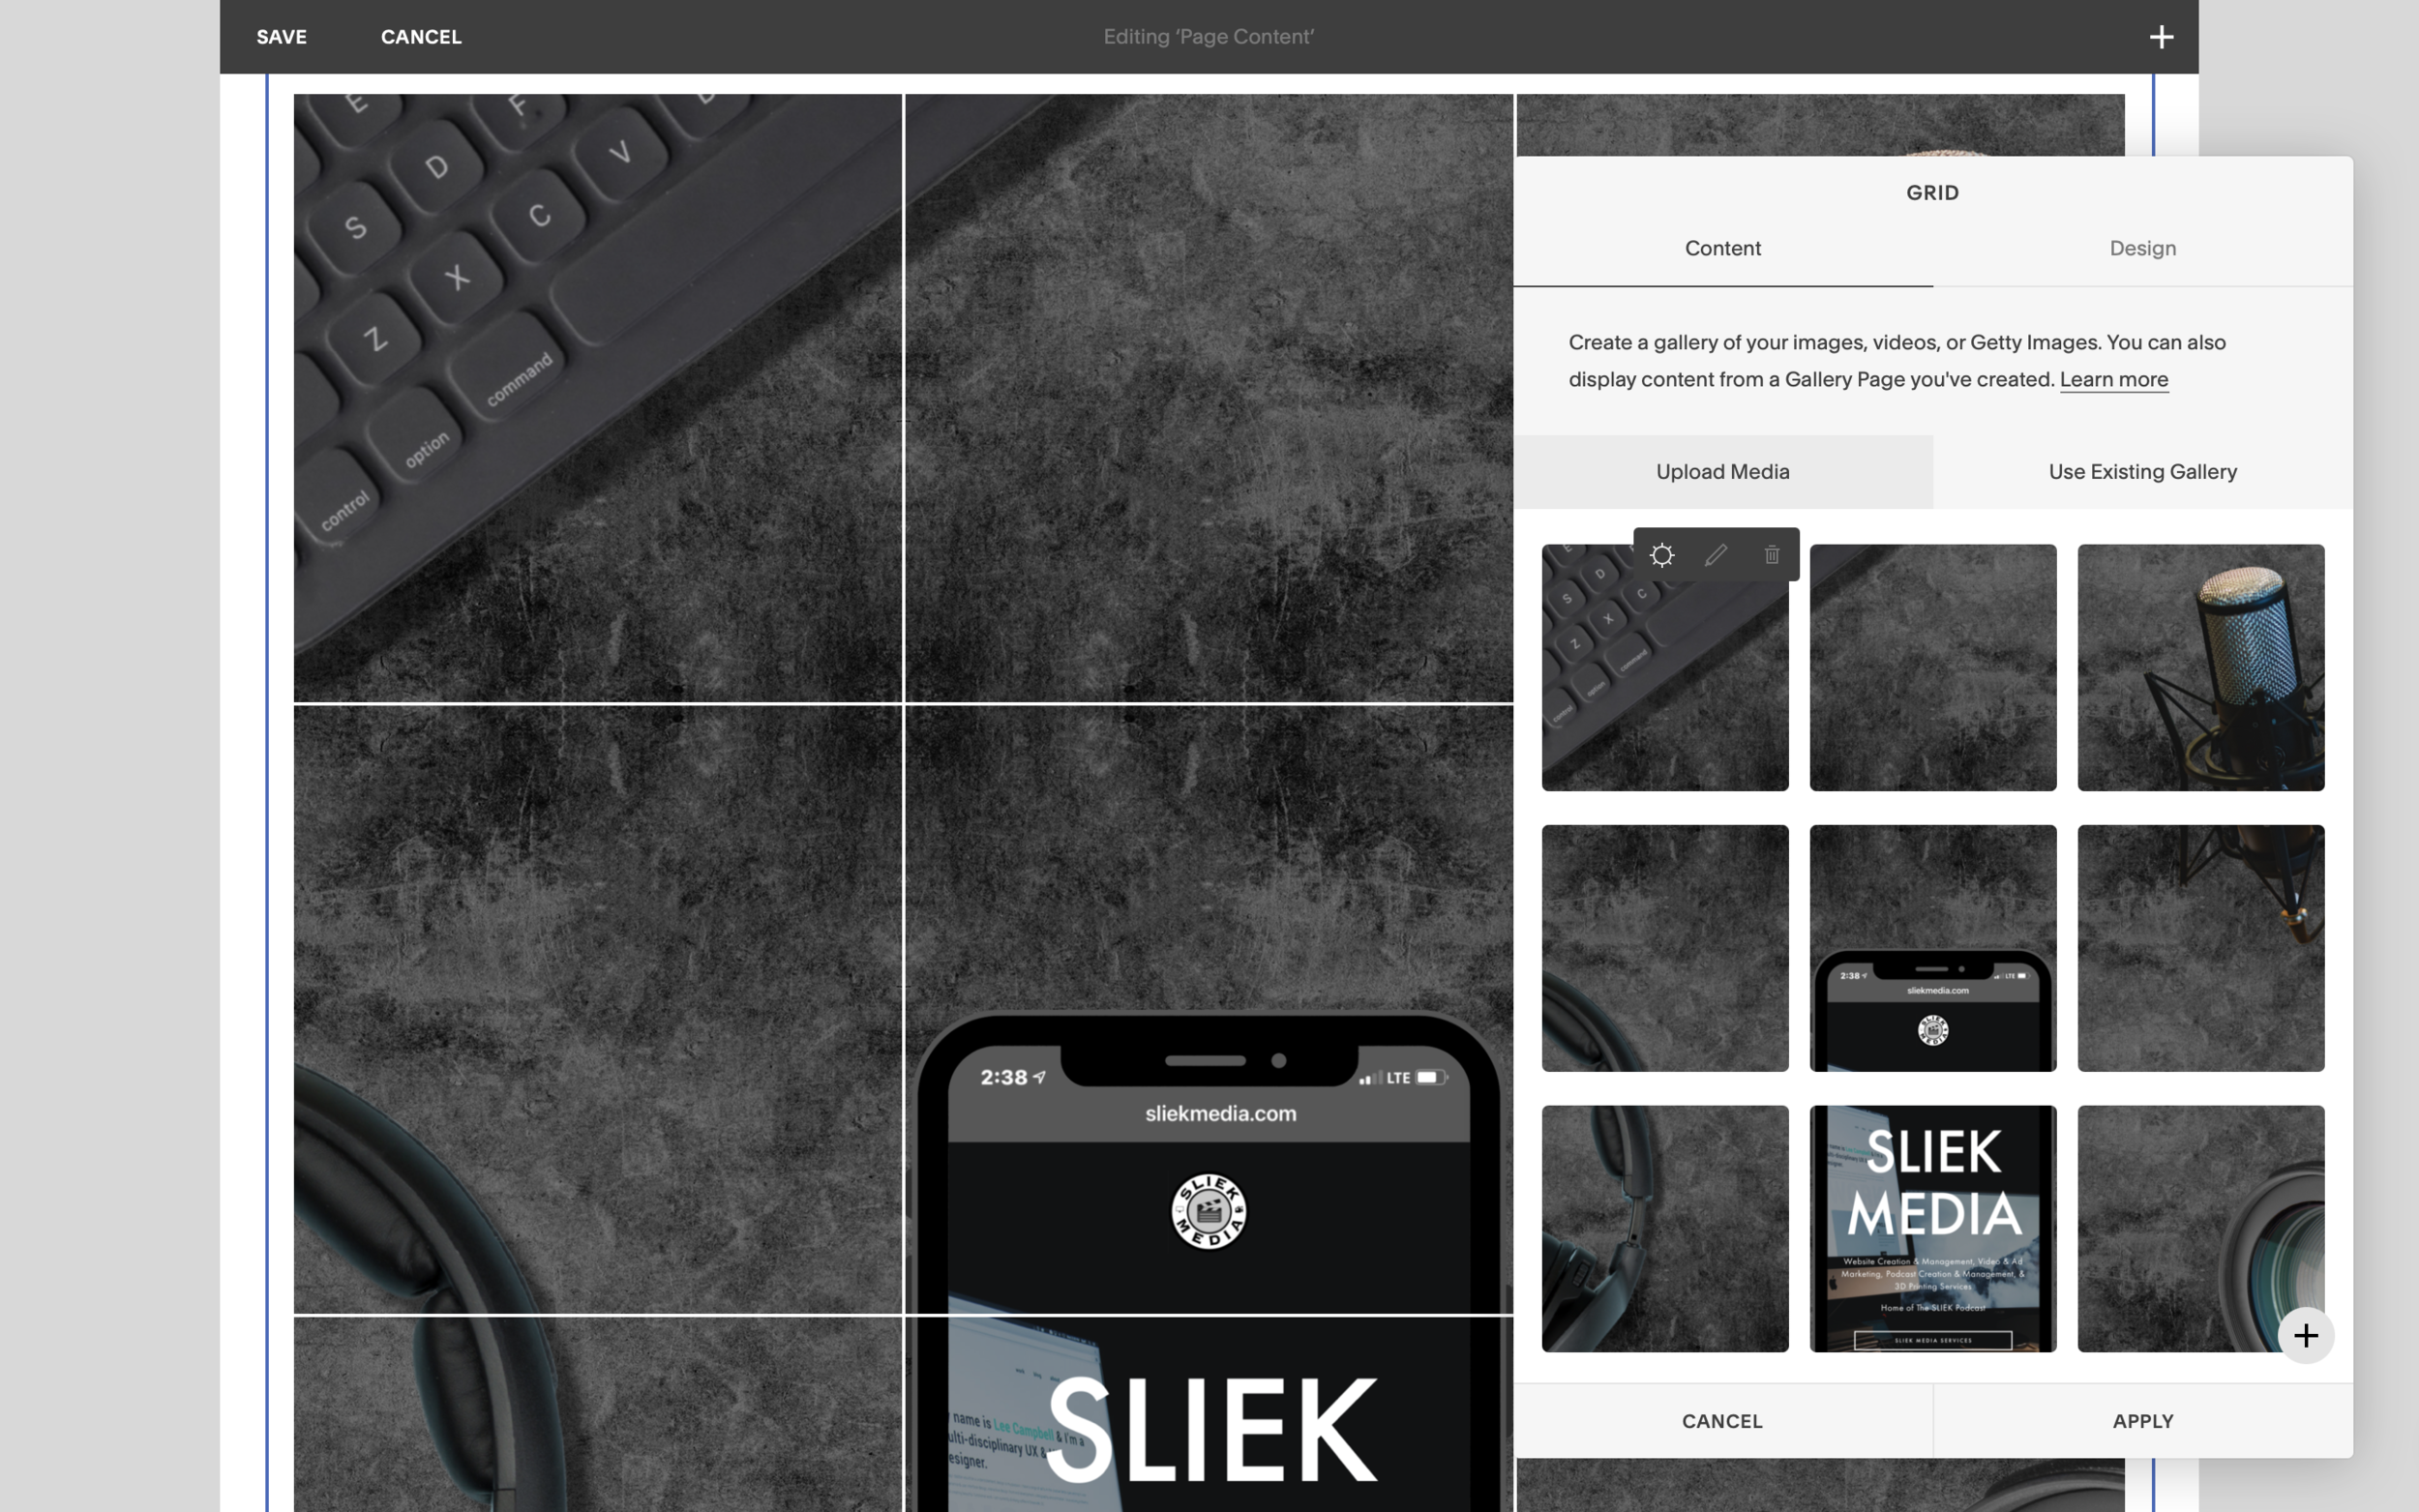
Now that you have your gallery block in place and adjusted, it’s time to add your Instagram content. This is a simple step that can be done in one upload. Click the “Content” option at the top of the gallery pane. Then click on the upload media option to select the Instagram images. If your Instagram content is mostly reels or videos, just take a screenshot to use as a “thumbnail.” You can also craft custom covers for your reels and videos to make your grid flow better. (article coming soon)
If you use your mobile device for uploading content to Instagram, try downloading the Squarespace app or an app for your web host platform. This will make uploading your images a lot easier. Otherwise, make sure your content is also on your computers hard drive and ready to upload.
After you have uploaded all your Instagram images you will need to adjust them in the correct order corresponding with your Instagram profile.


Adding Links To Your Images
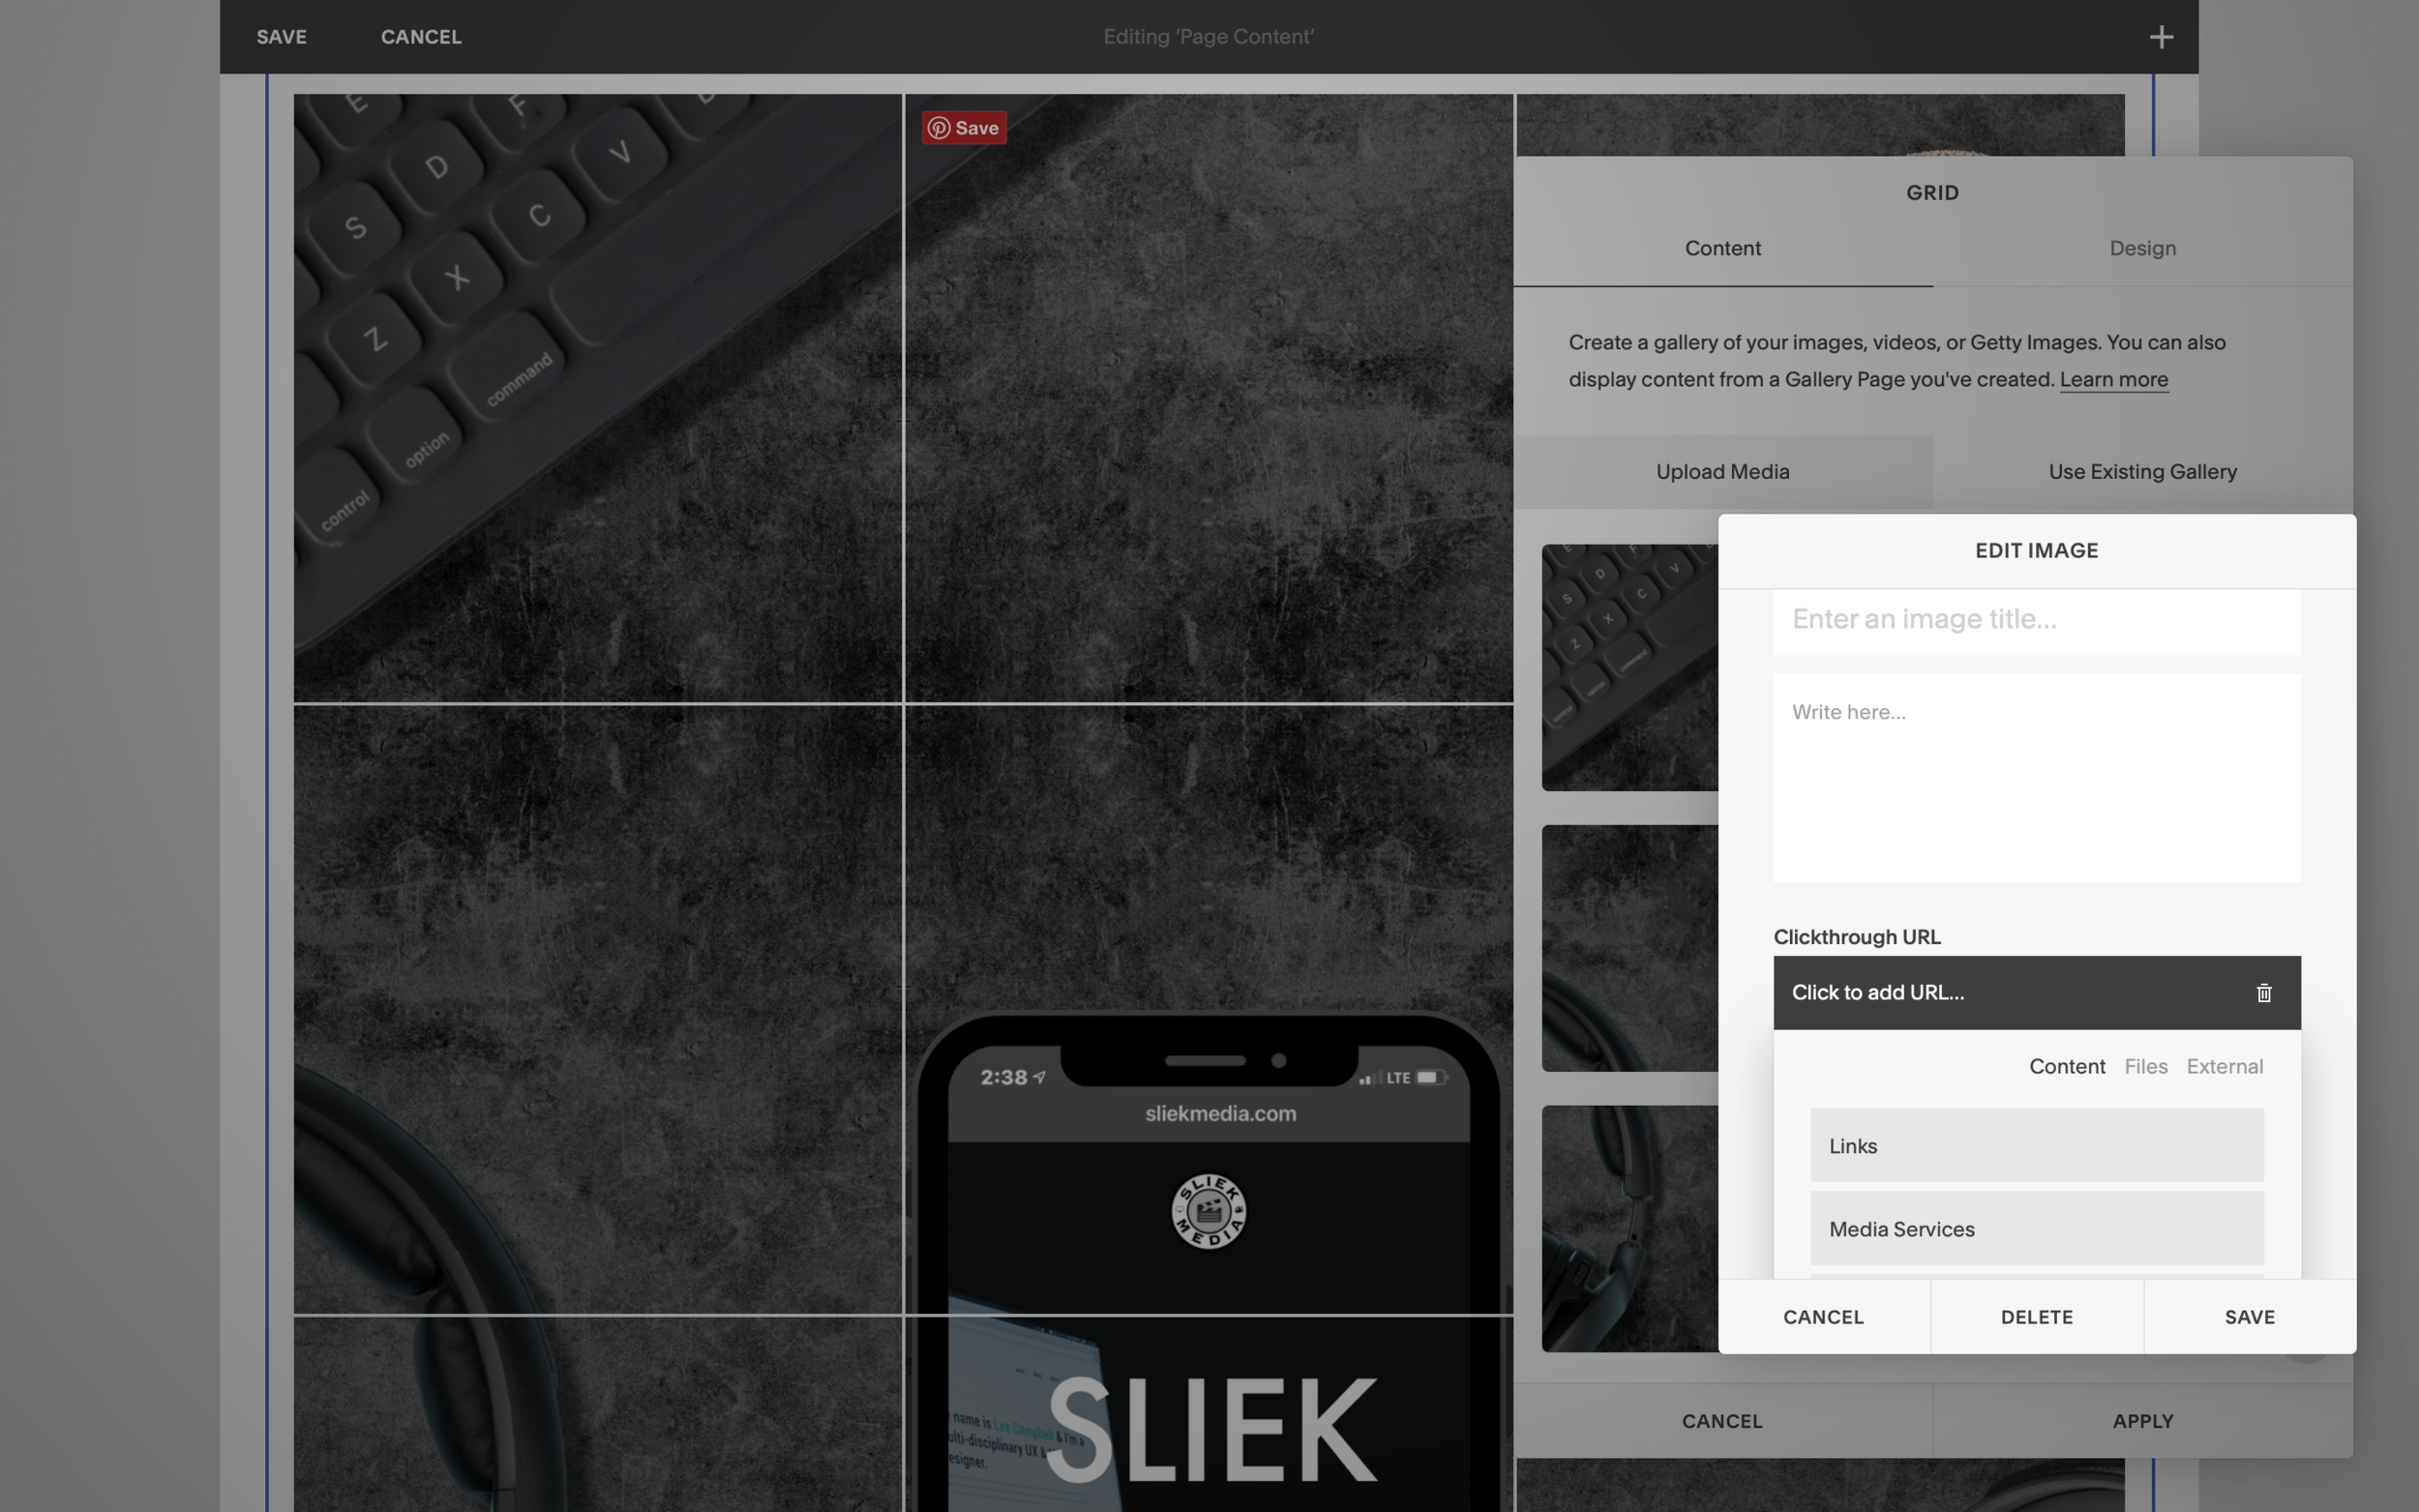
Now that your have your images uploaded and order correctly you can add the right links to your images. Click on the first image you want to add a link to. Then click the edit symbol that looks like a sun. Now click the box under “Clickthrough URL.”
If you are linking an image to another page on your website you will select the “Content” option at the top of the Edit Image Pane. Scroll down to the correct page. This could be a blog, store, or sales landing page. Click save, then apply, and save once again in the Squarespace editor. You will need to reapply this process to each image with the correct clickthrough page.
Need to link to a different website? In the Edit Image Pane click on the “External” option. Type in the desired URL destination, click save, then apply, and save again in the Squarespace editor. You will need to reapply this process to each image with the correct clickthrough URL.
Congratulations you have now created your very own LinkInBio page. I recommend changing the pages URL slug to “links” so it will be your domain.com/links to keep it simple and appealing.
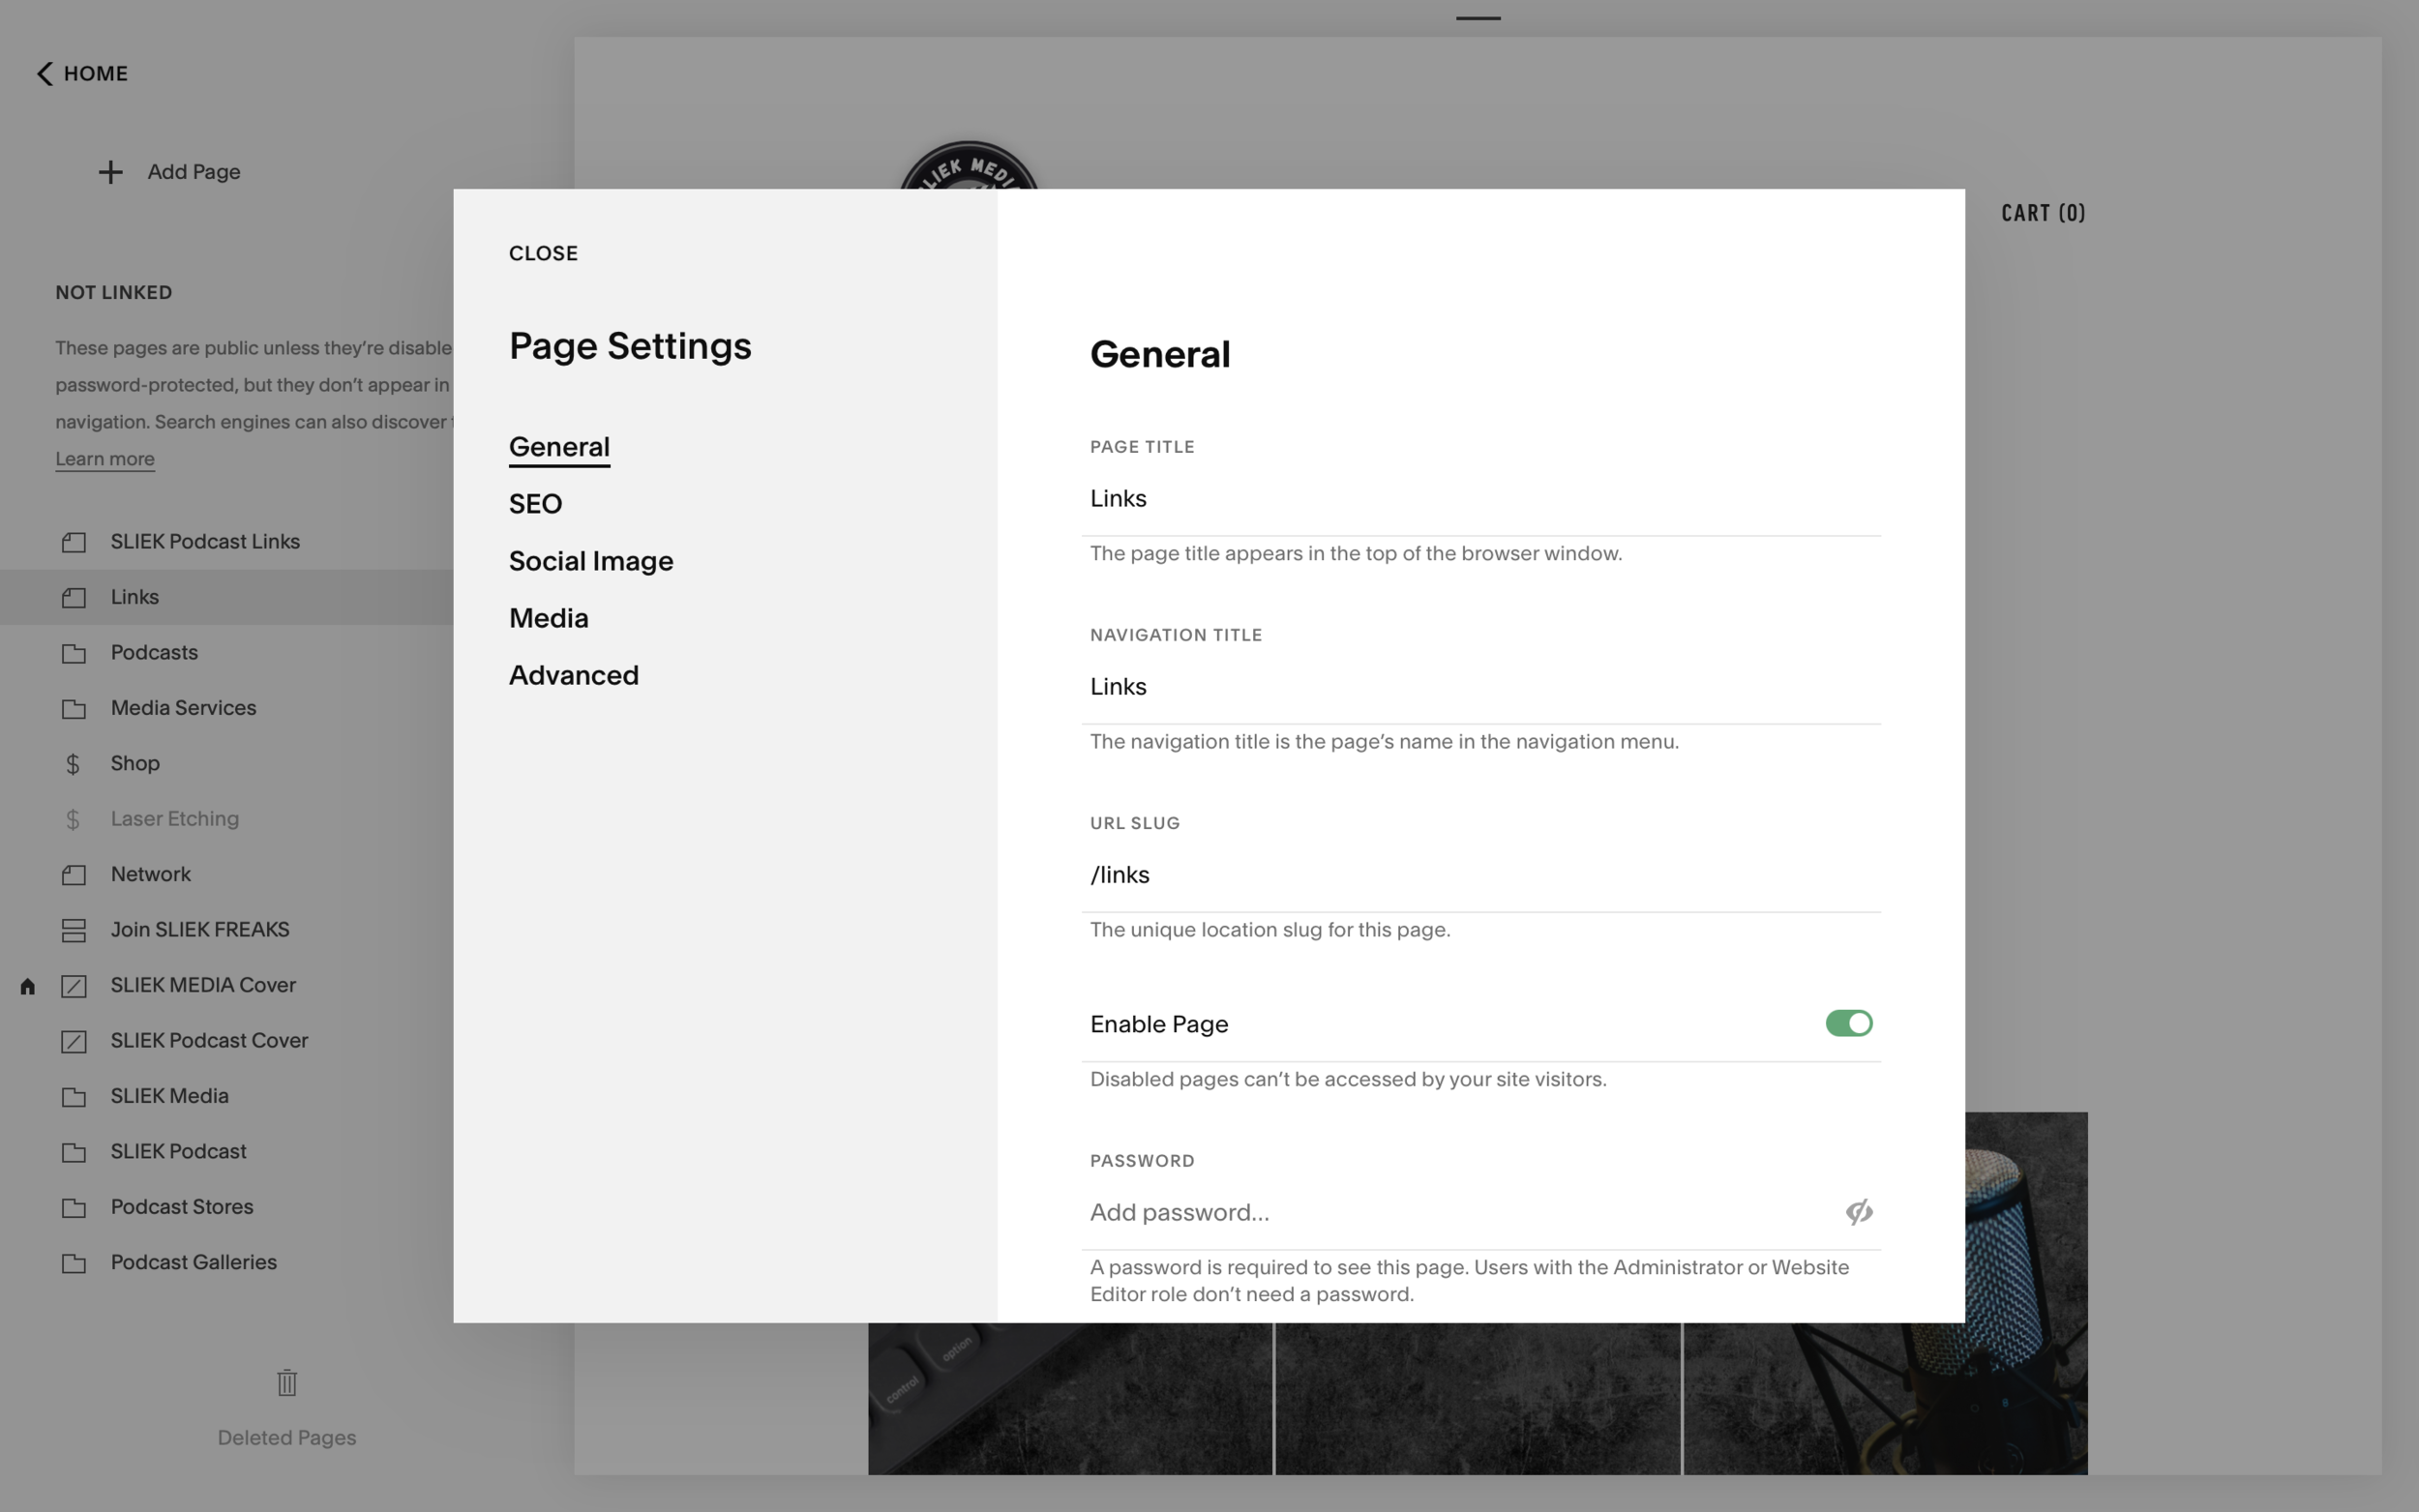
Changing Your Link Page Name & URL Slug
In the main Squarespace navigation sidebar, click on the gear icon next to the name of your new link page. From here you can edit the name of your link page. I recommend using “Links” for the Page Title and Navigation Title. In this pane you will also see URL Slugs. Edit the slug to links and save. Your Link Page URL is now yourdomain.com/links
Forwarding A Subdomain To Your Link Page
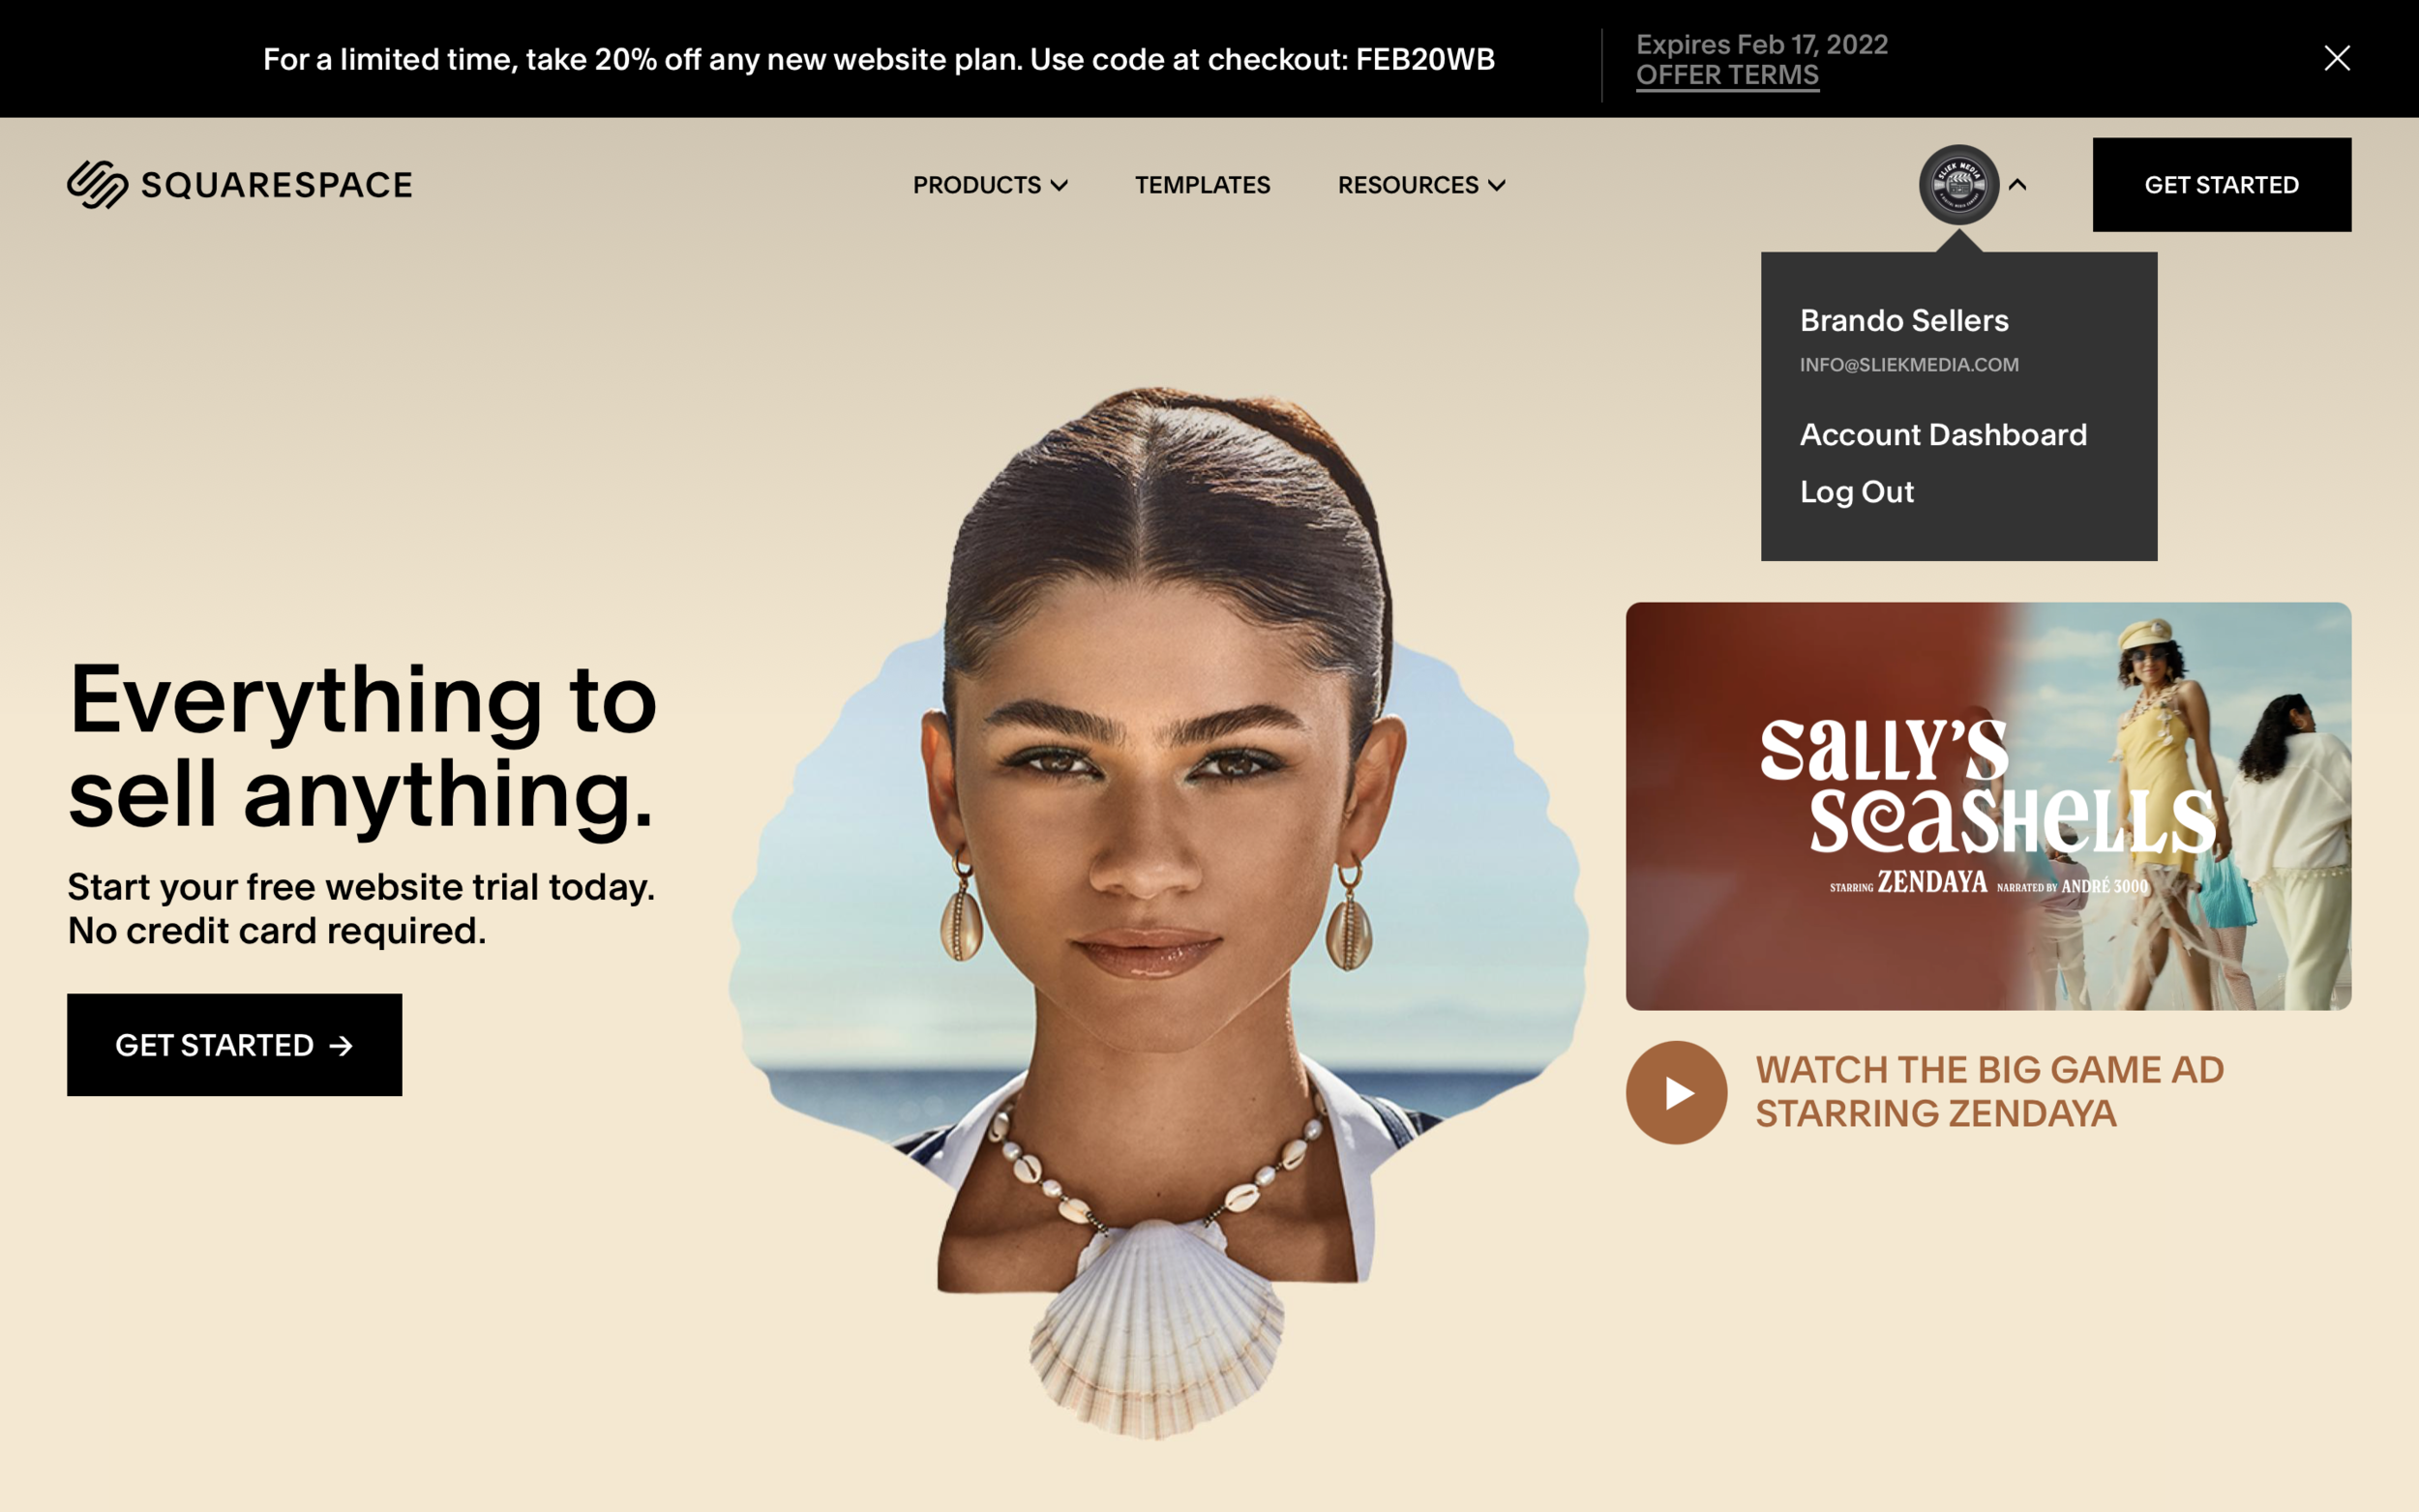
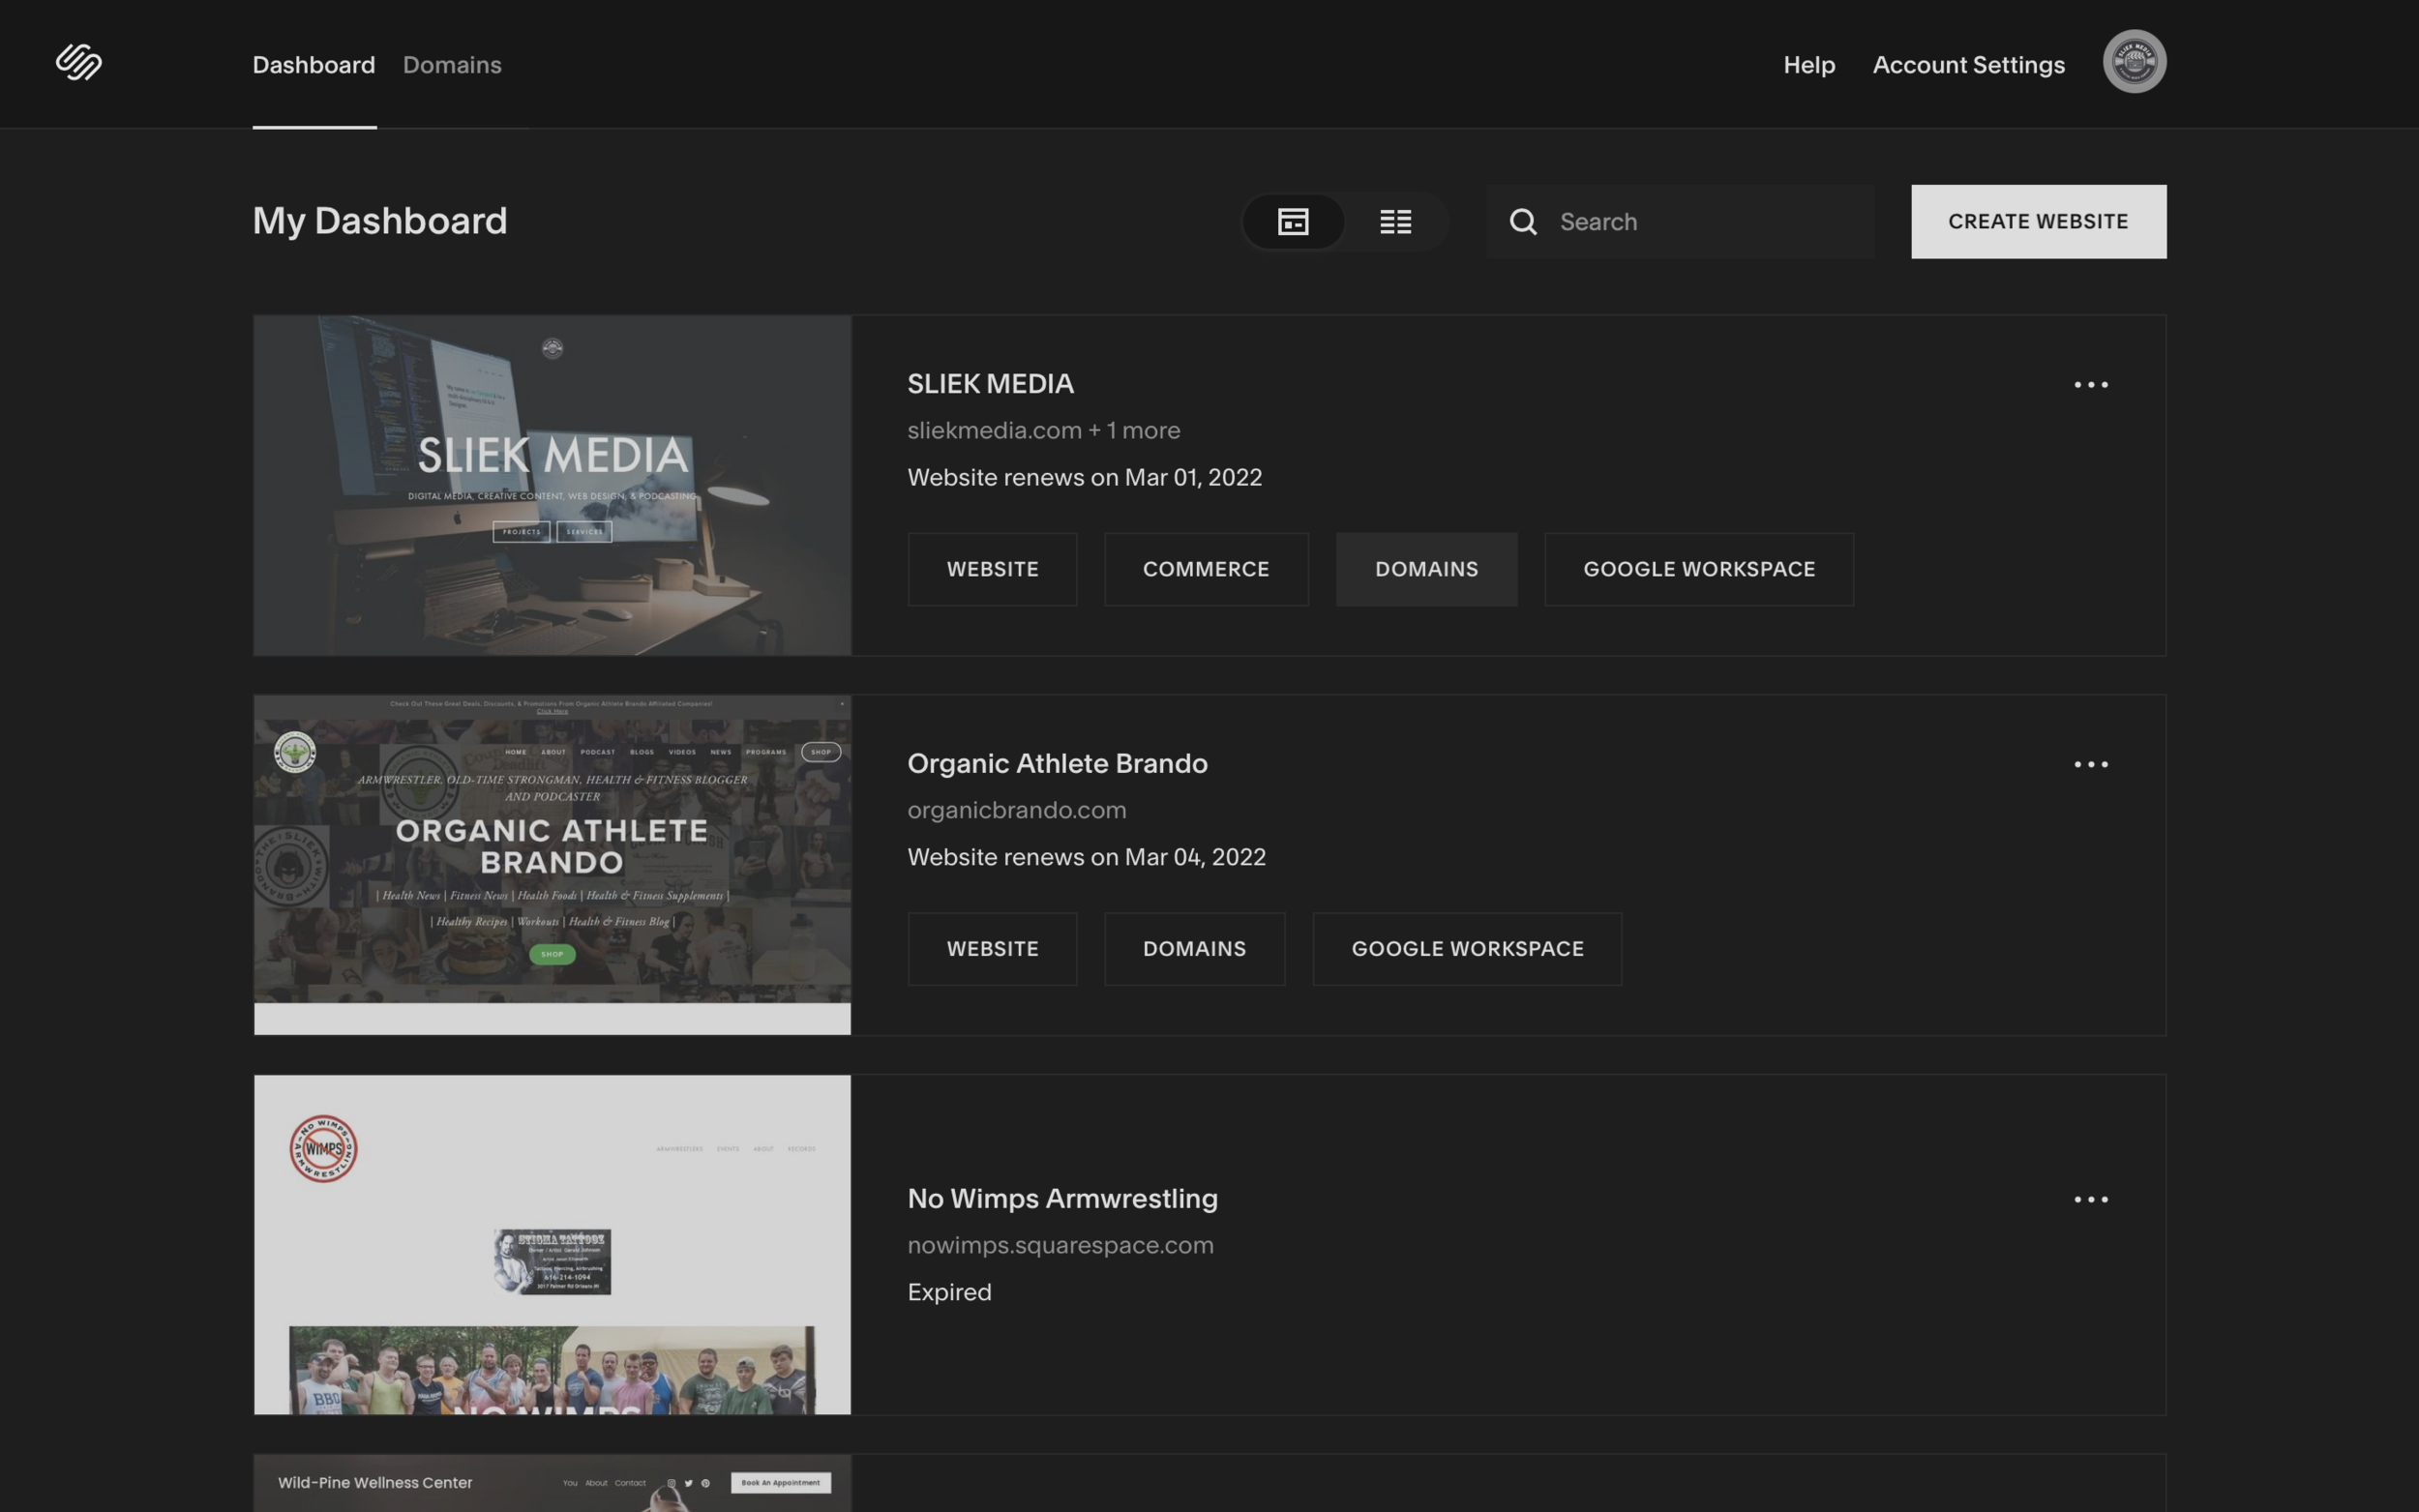
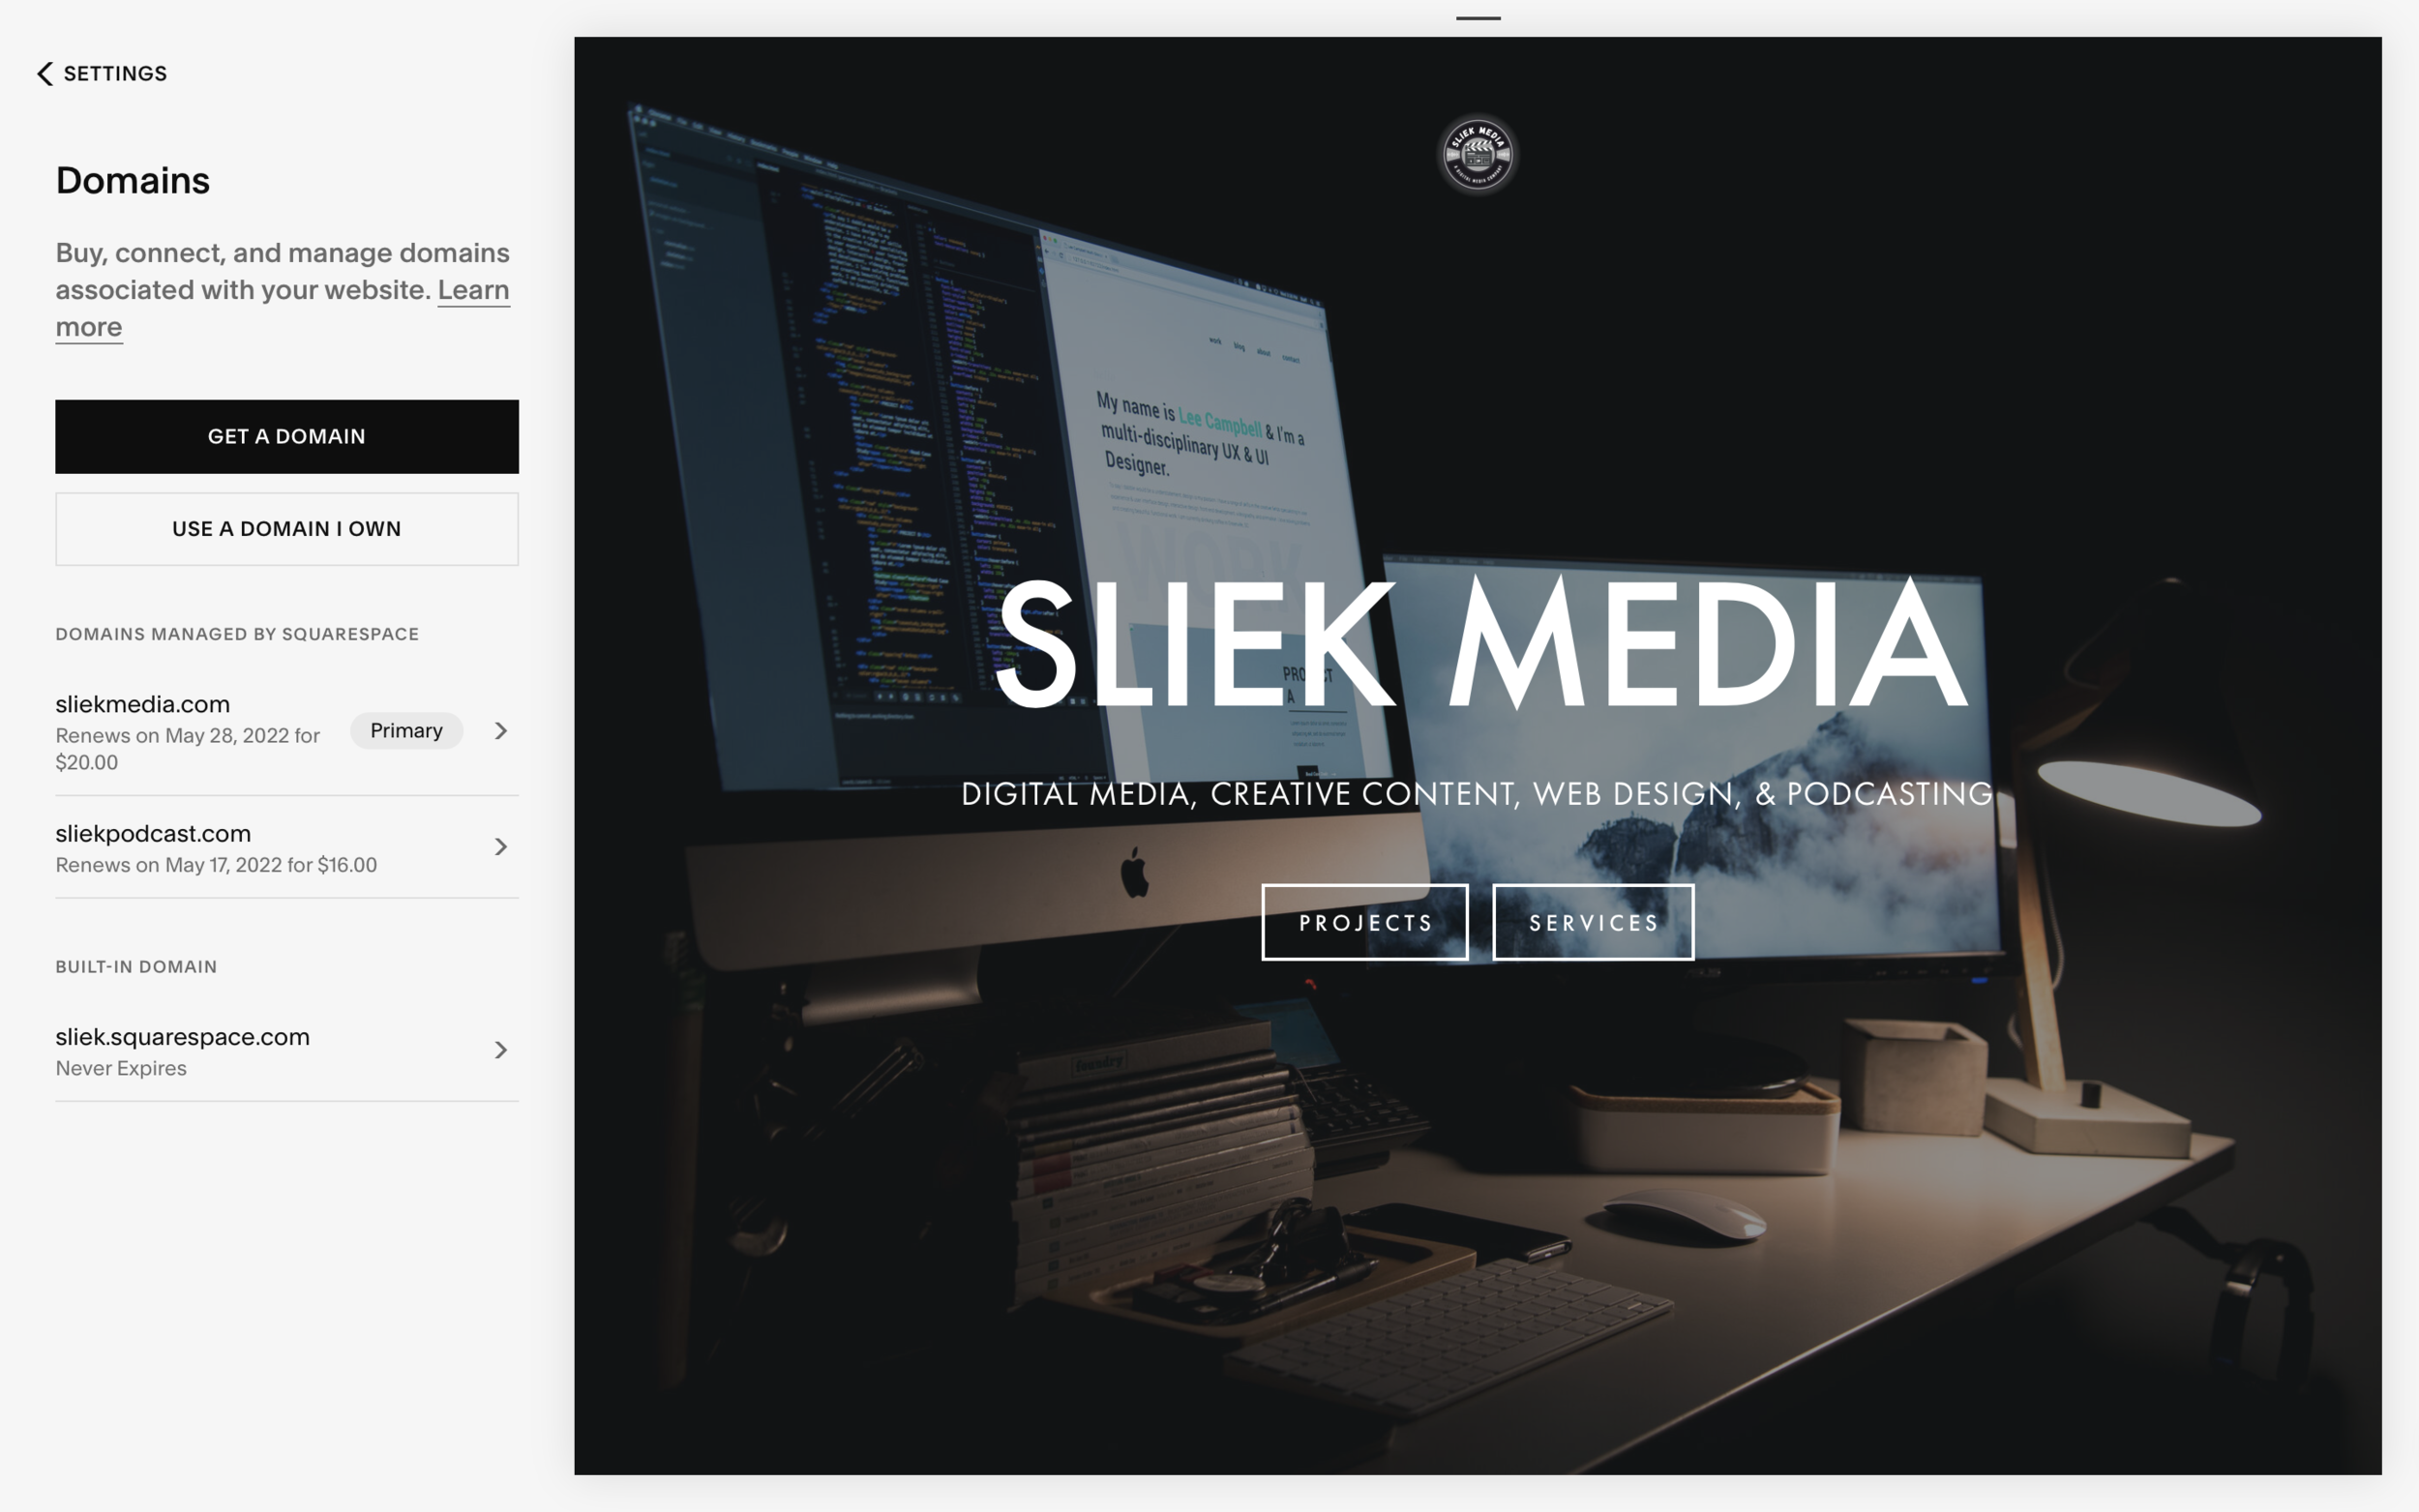
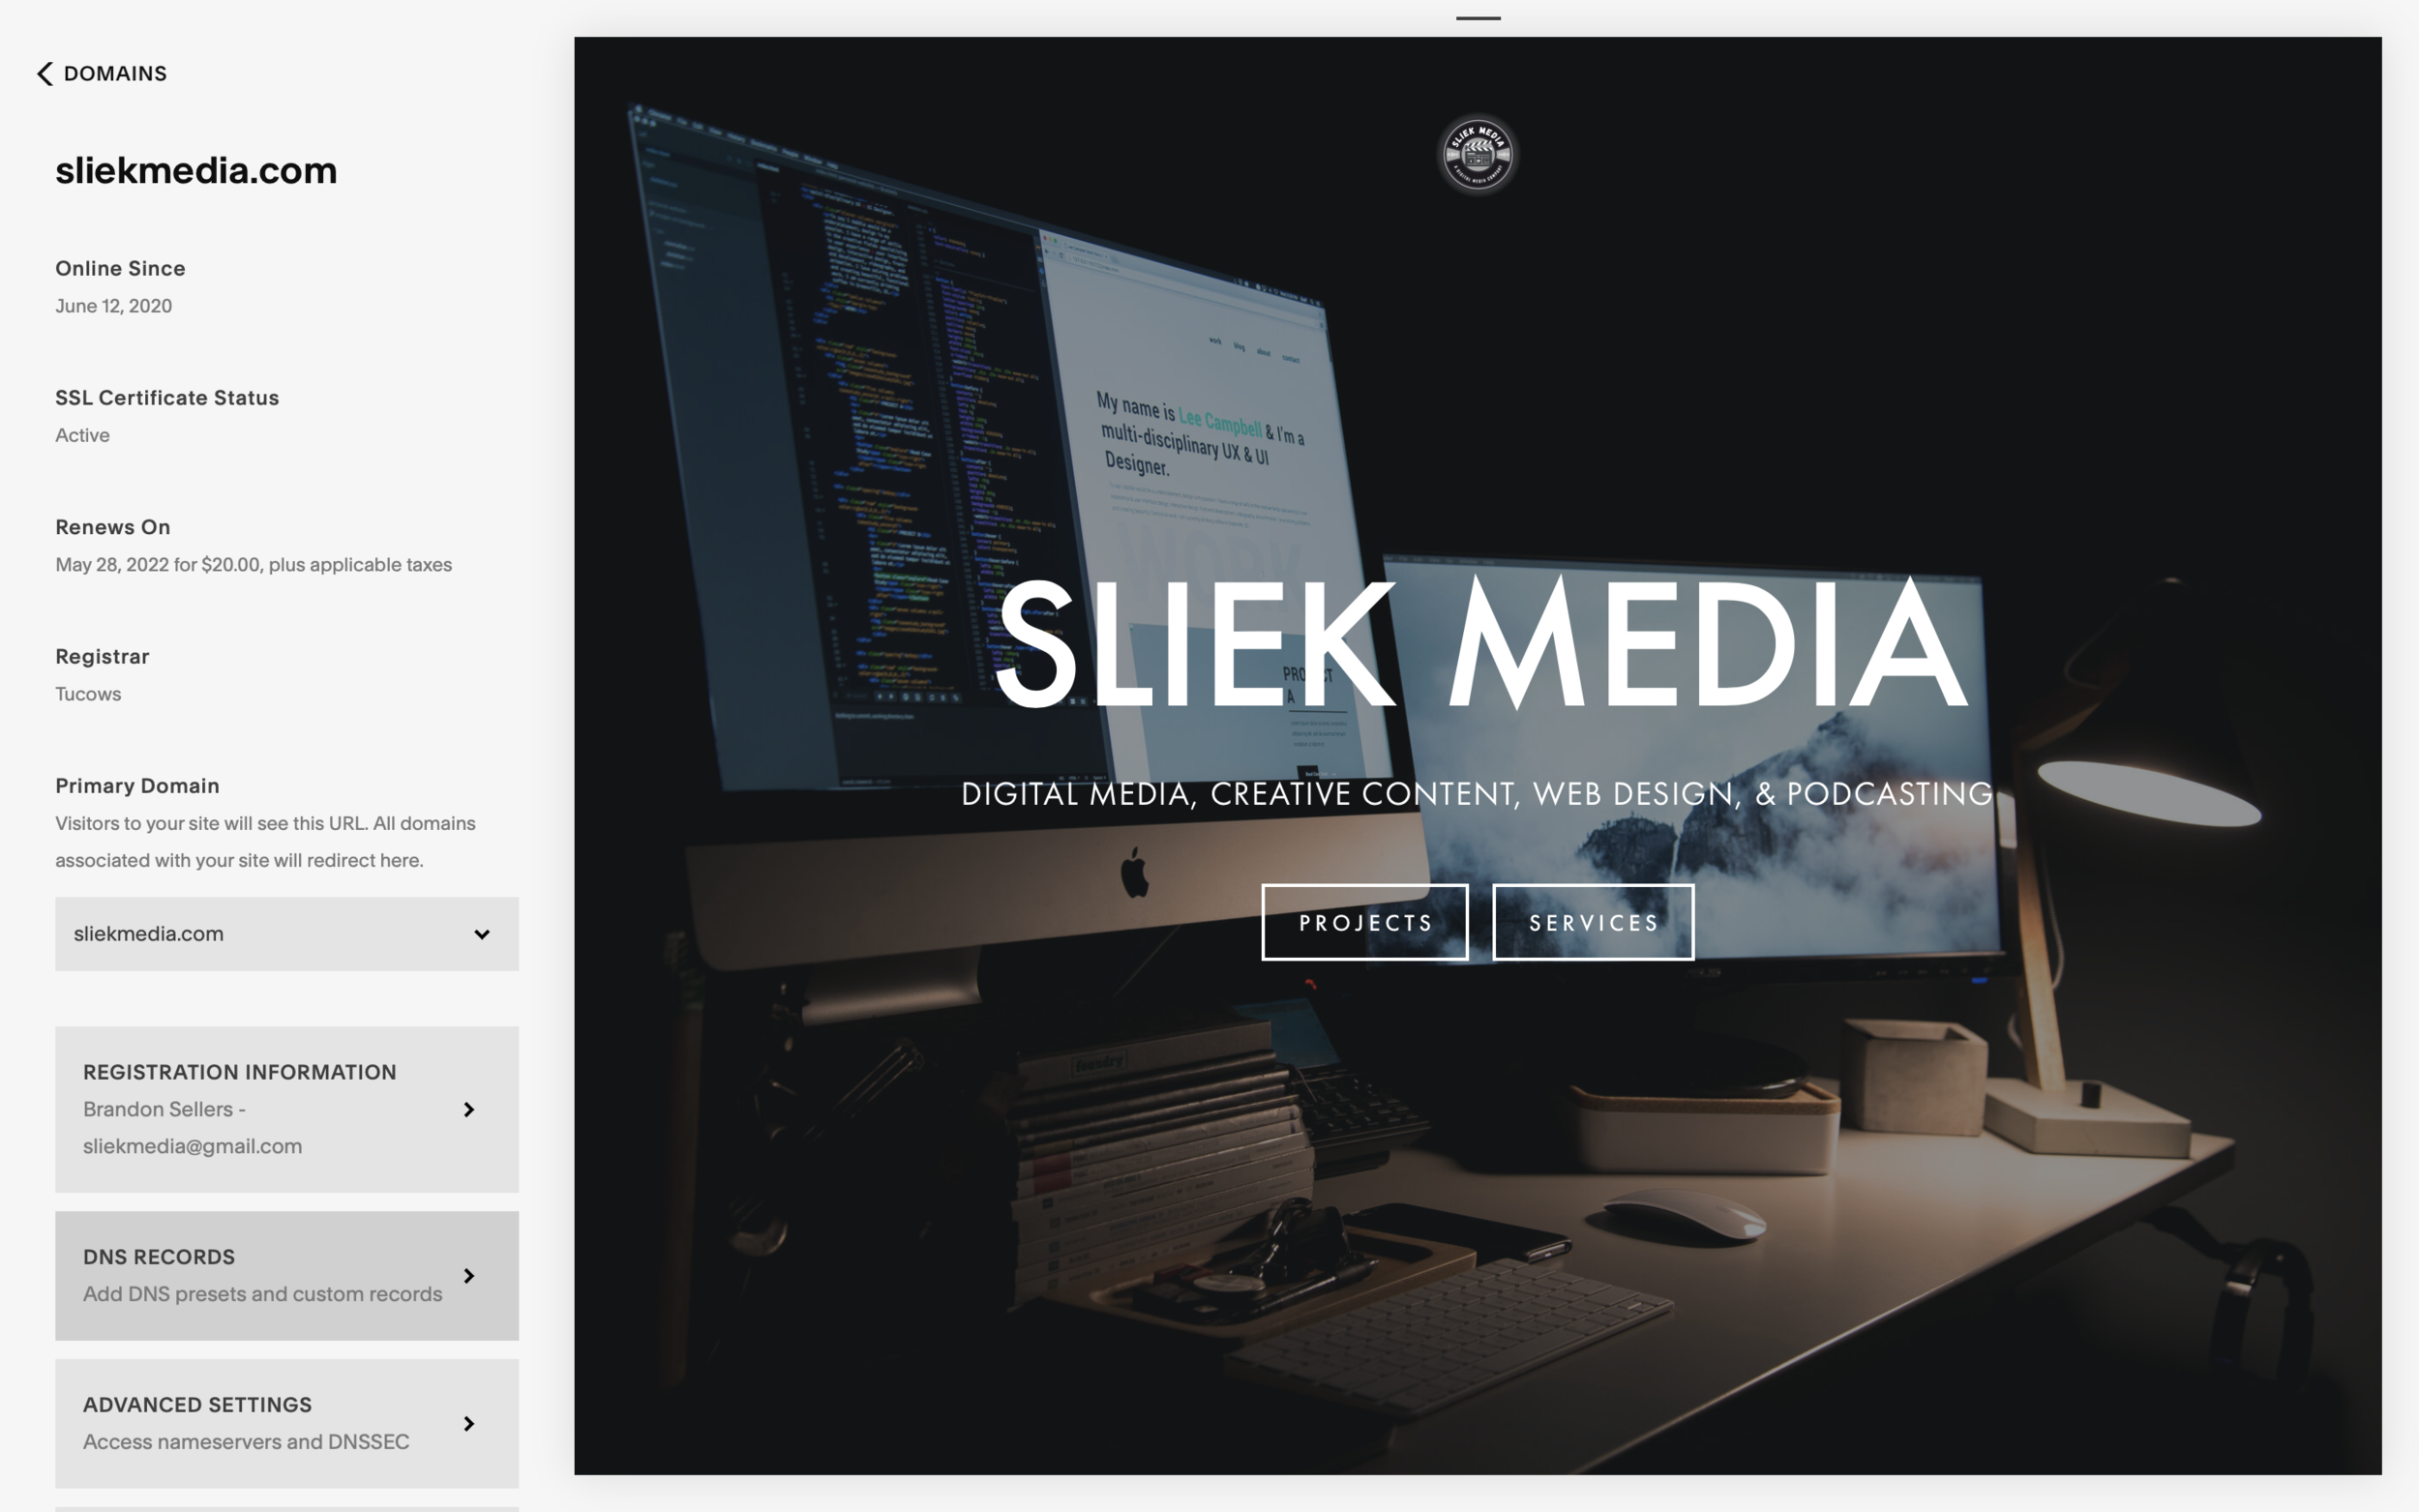
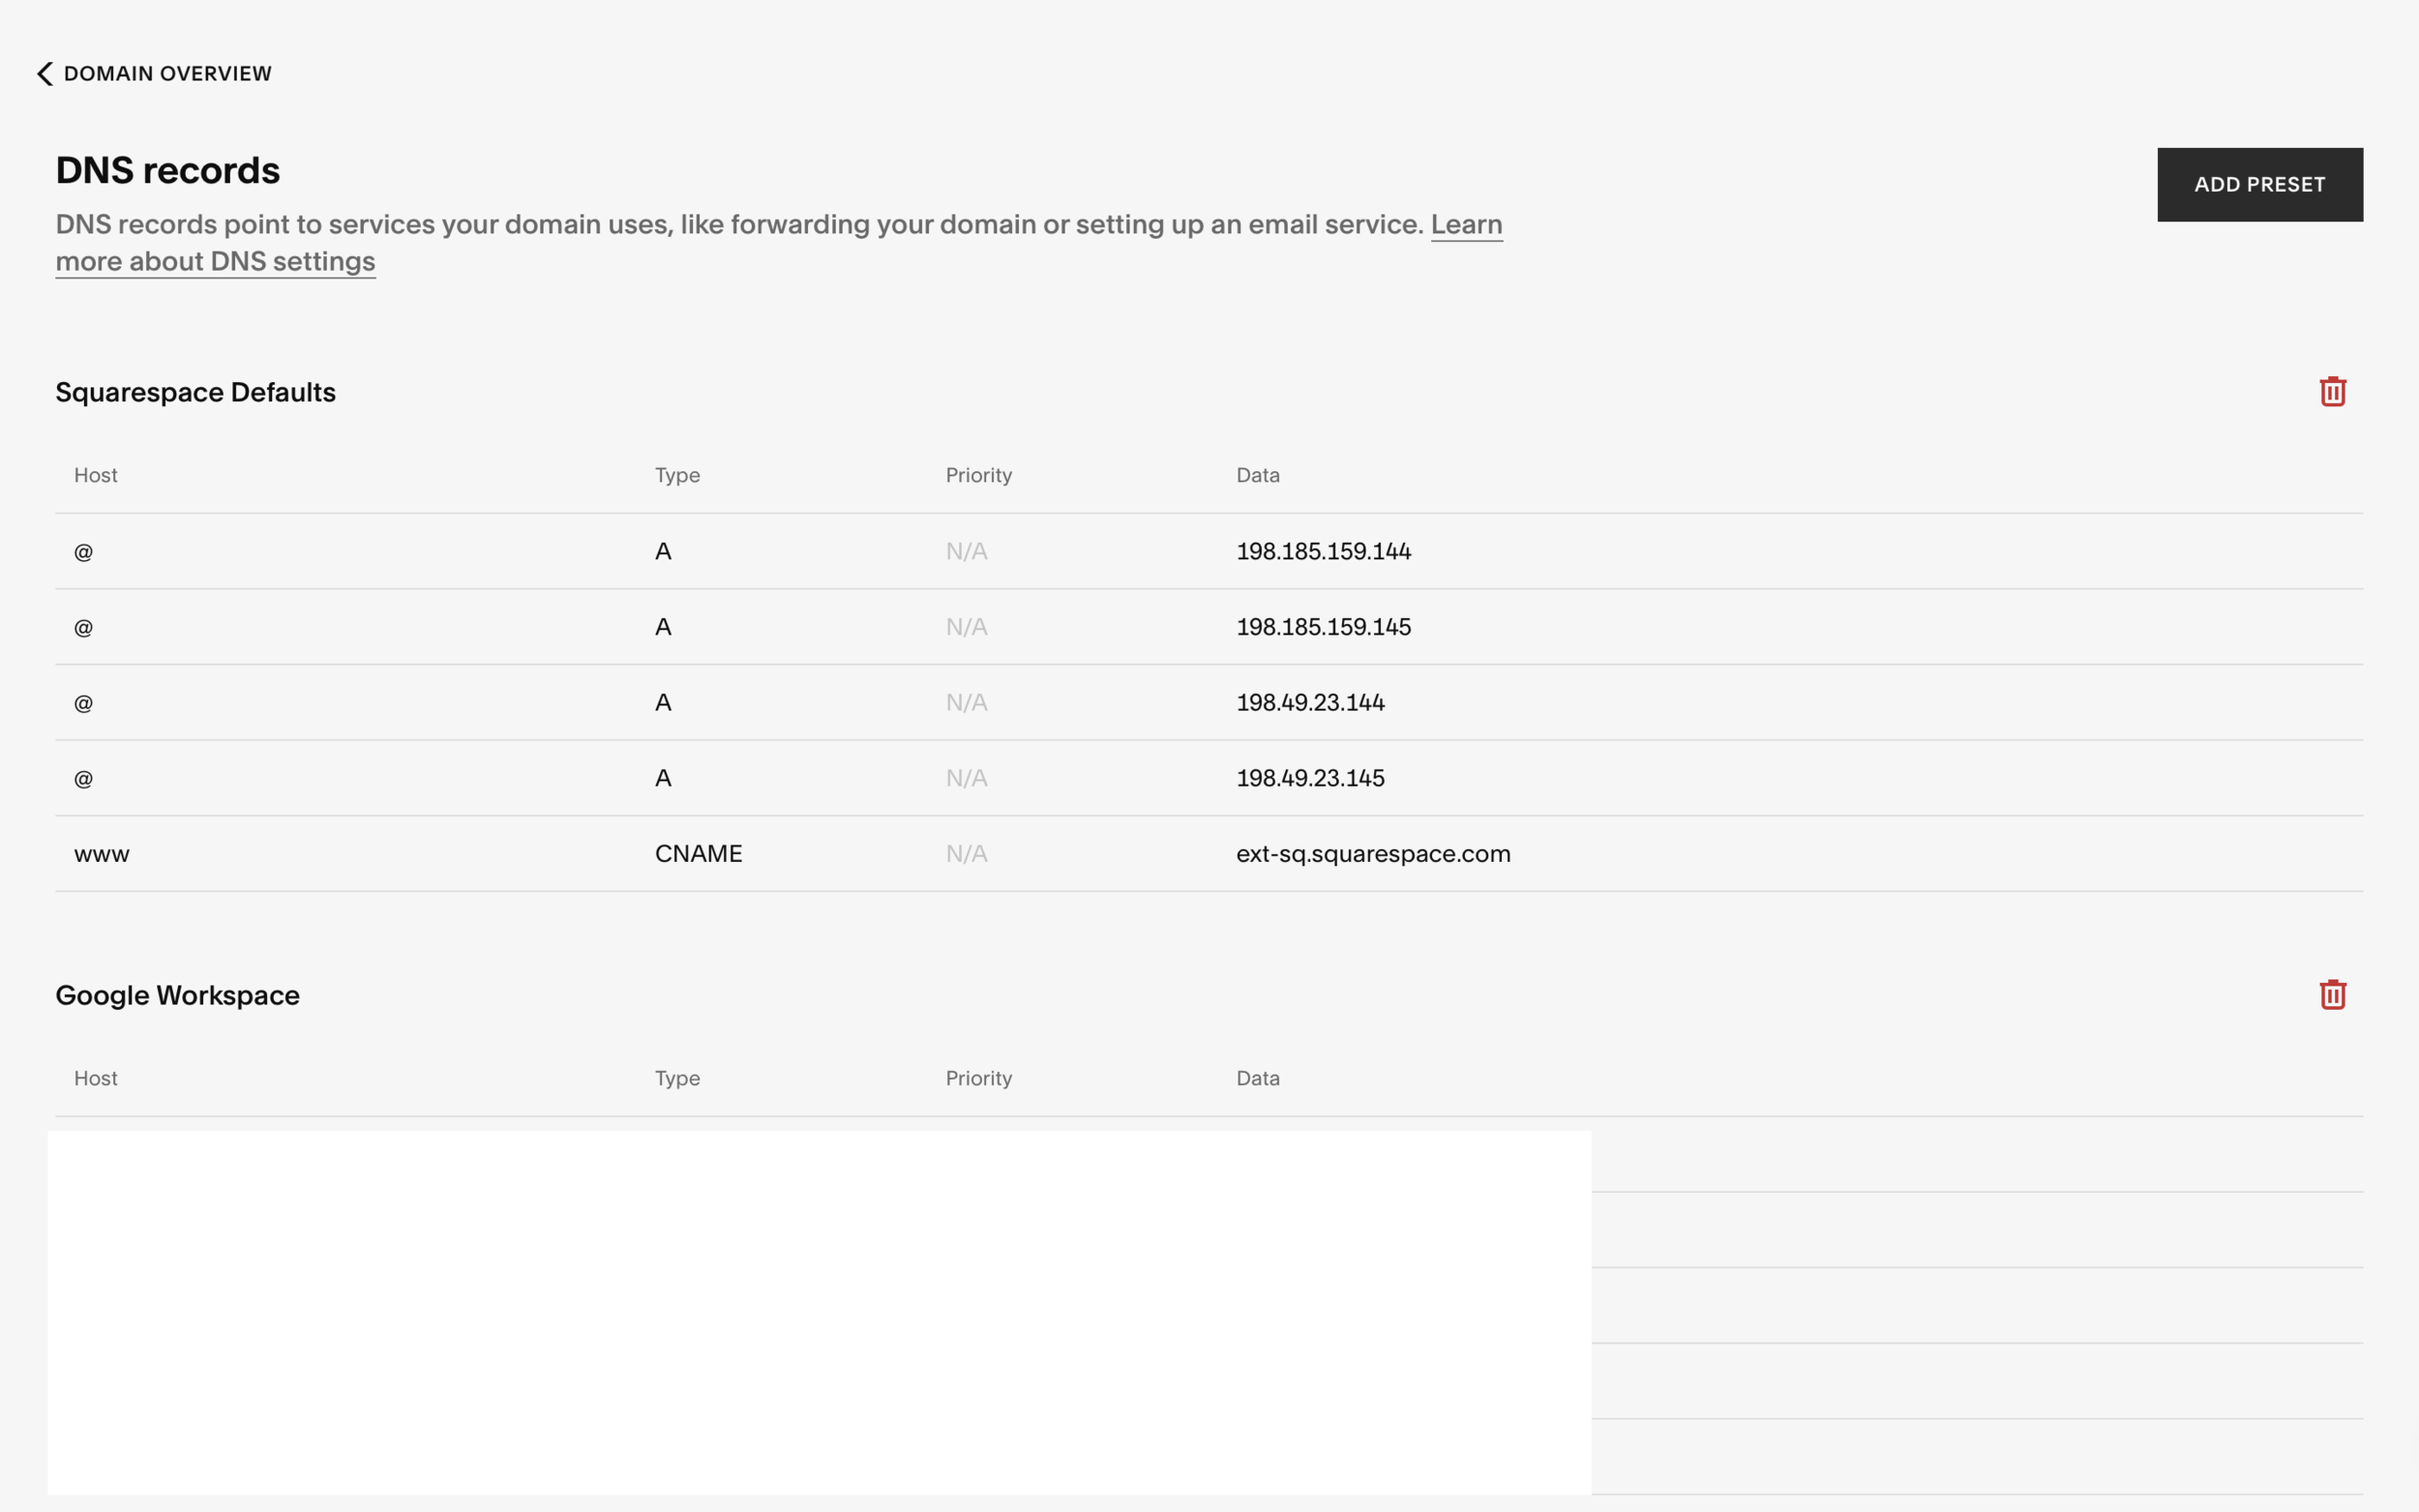
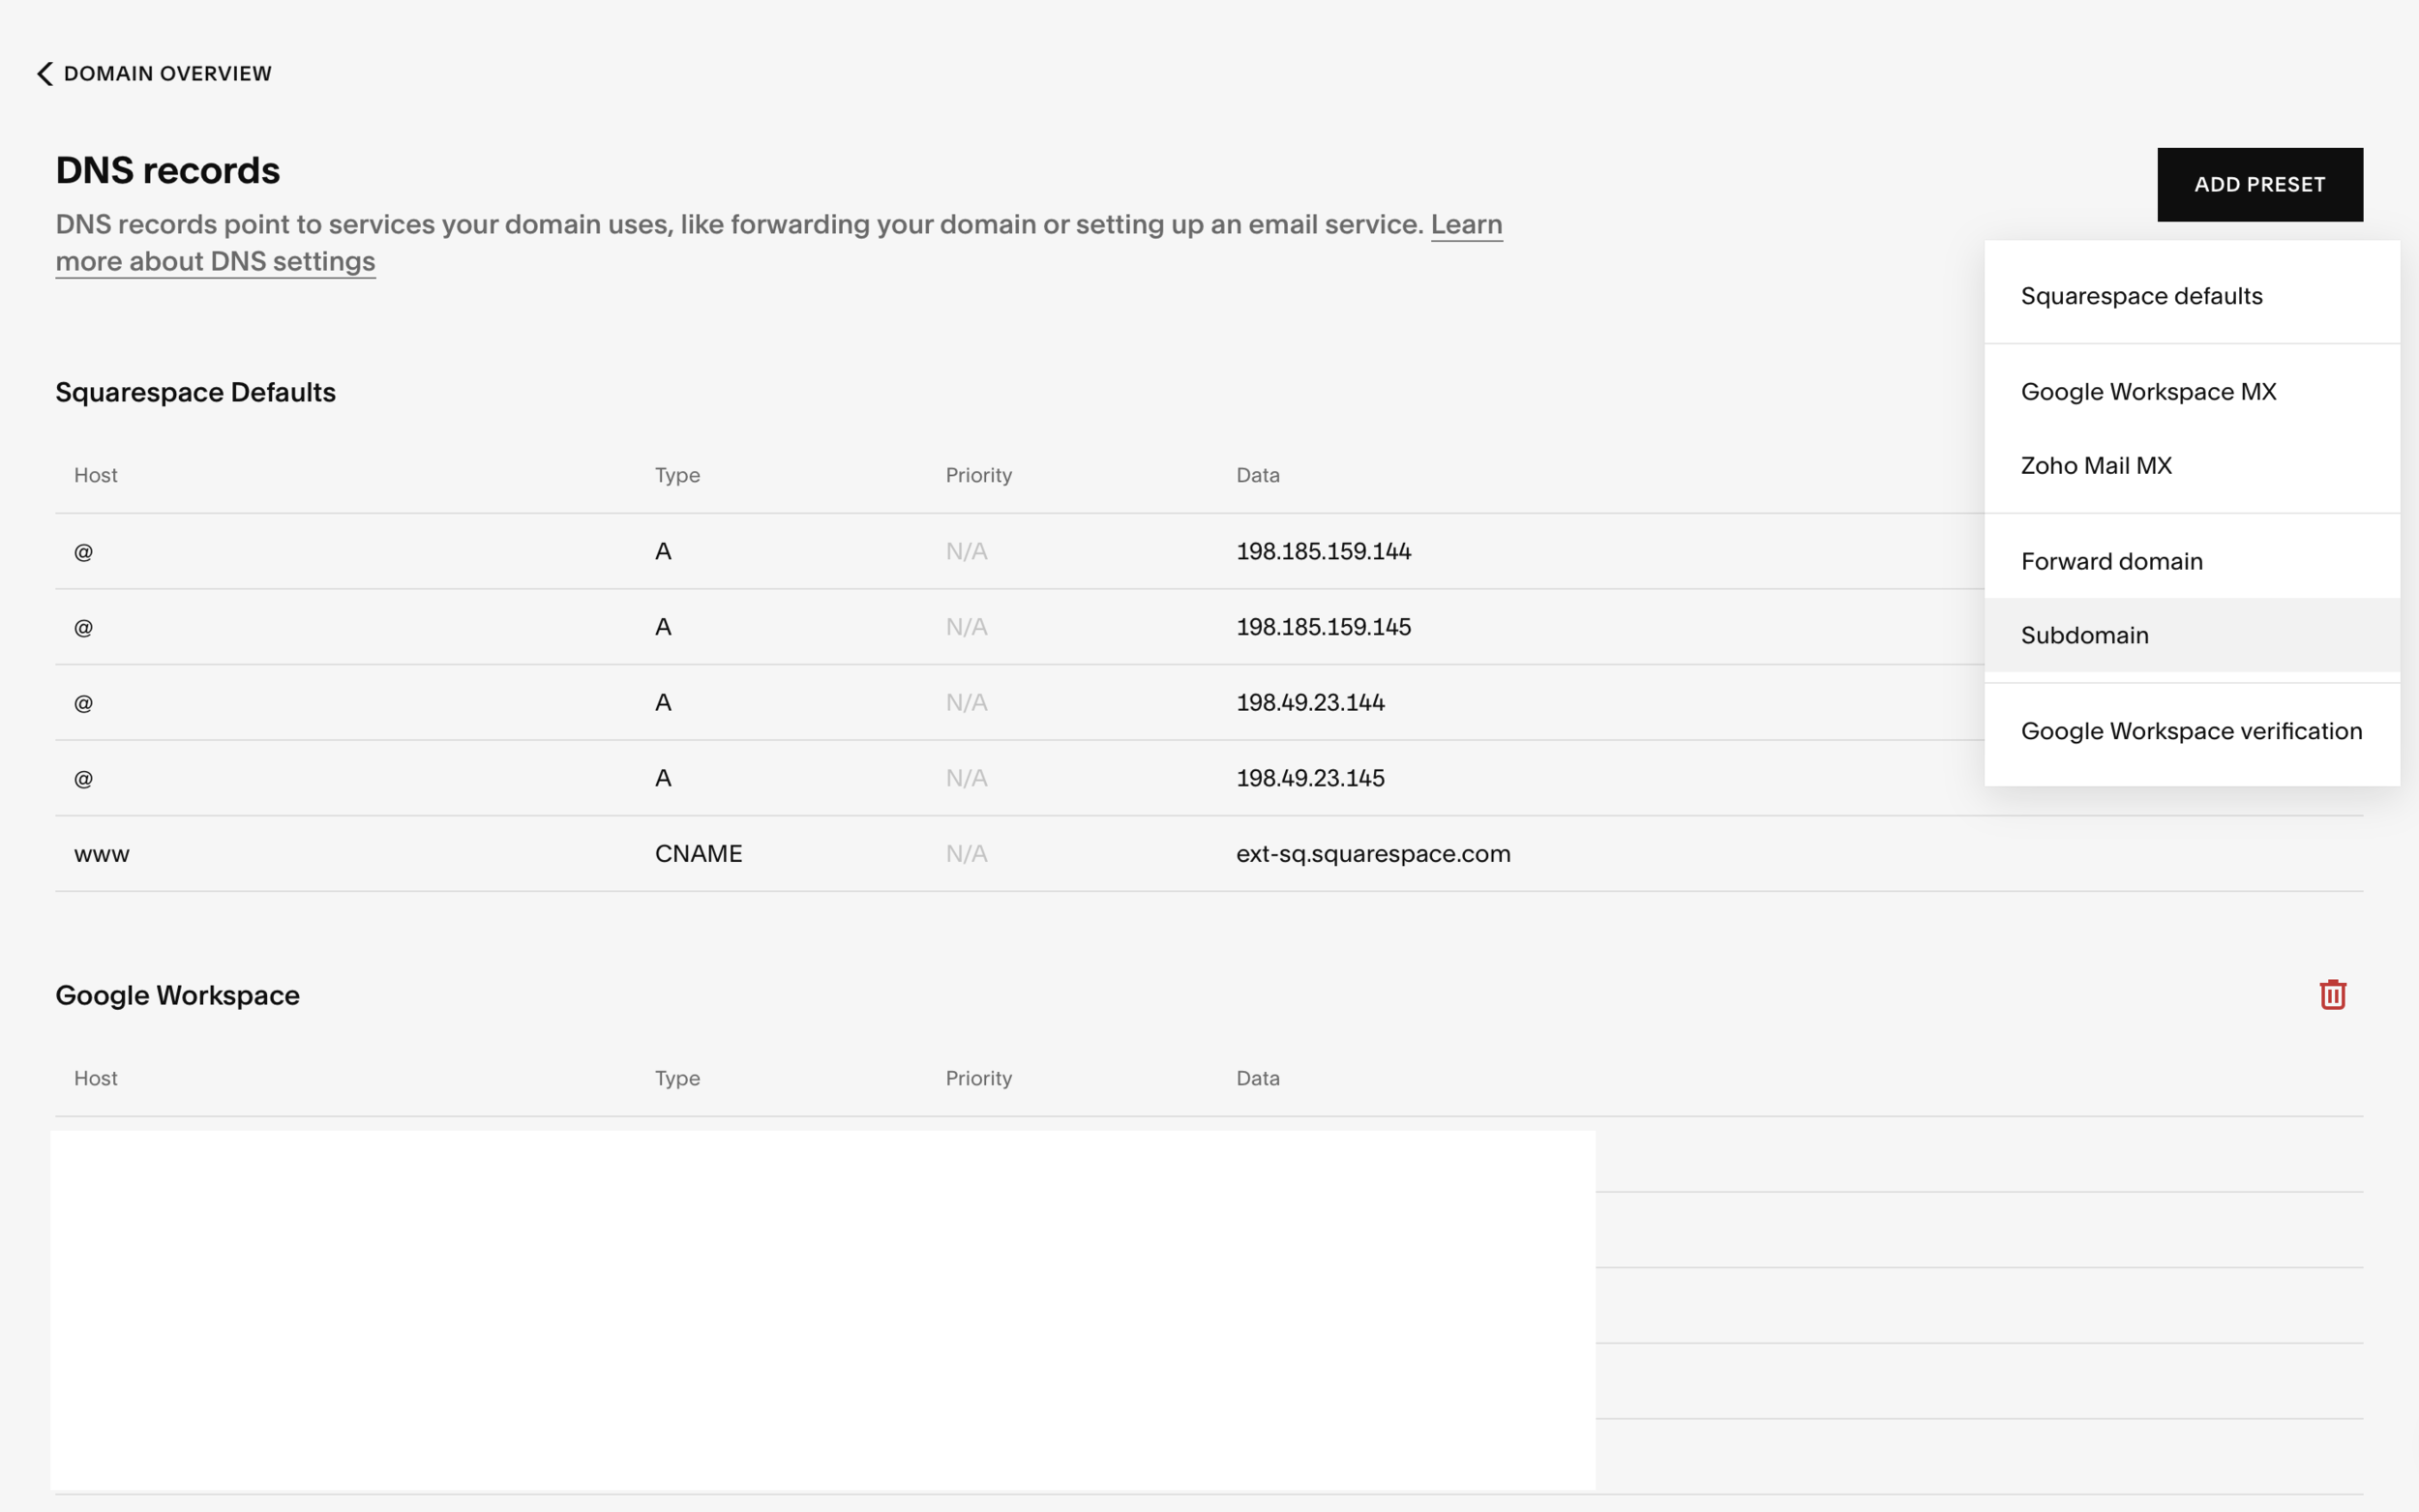
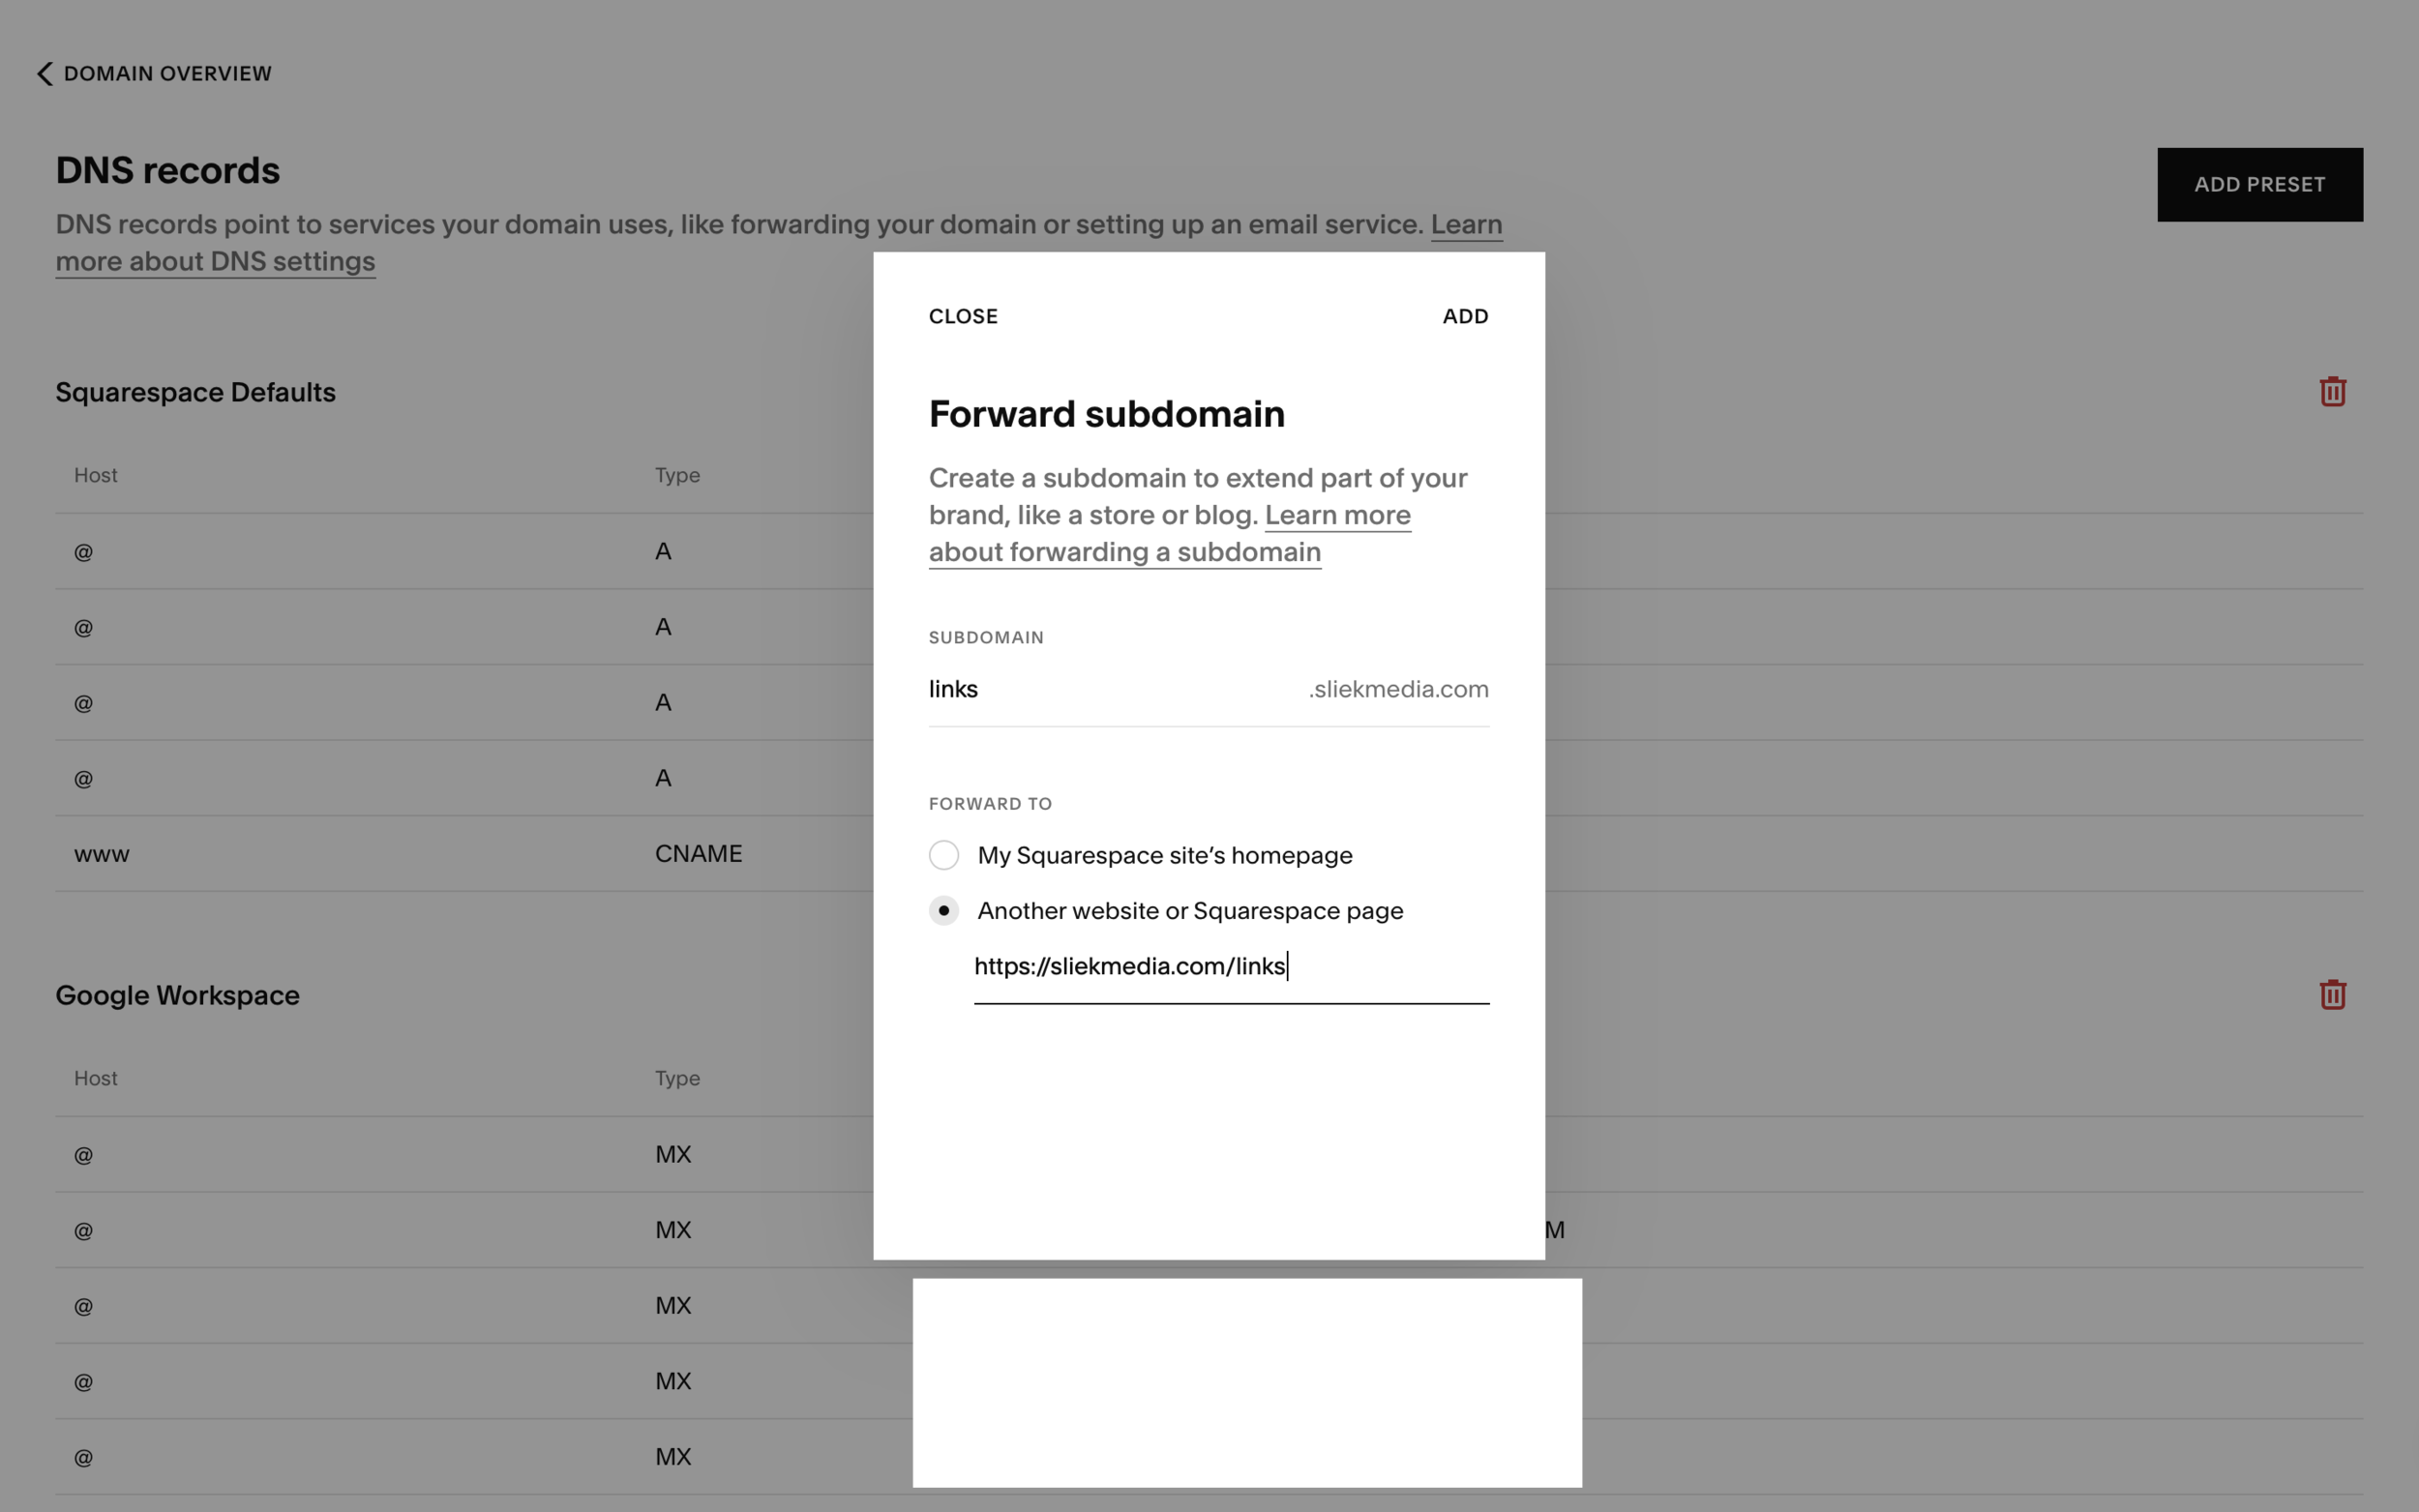
When you first login to Squarespace and access you Account Dashboard, you will see several options next to your website. One of those options is “Domains.” Click domains now you will see you domain listed in the navigation sidebar. Click on your domain. Scroll down to “DNS Records” and click on it. Now click the “Add Preset” button. Select “Subdomain” and type in links. Then select forward to another website or Squarespace page and type in yourdomain.com/links
Now when someone uses the URL links.yourdomain.com it will redirect them to your links page.
Your All Set!
Thats all you need to know to add your own link page to a Squarespace website and can hopefully be applied to other web design services.
Please comment below and let us know if you found this article helpful.